You want to build a wooden dog bed that looks good, lasts, and doesn’t require a full woodworking shop? You’re in the right place. Let’s ditch the wobbly store-bought stuff and make something sturdy that actually matches your home. We’ll walk through practical designs, tools, and finish options—plus a few tricks so your dog actually uses it (shocking, I know).
Why Build a Wood Dog Bed Instead of Buying One?
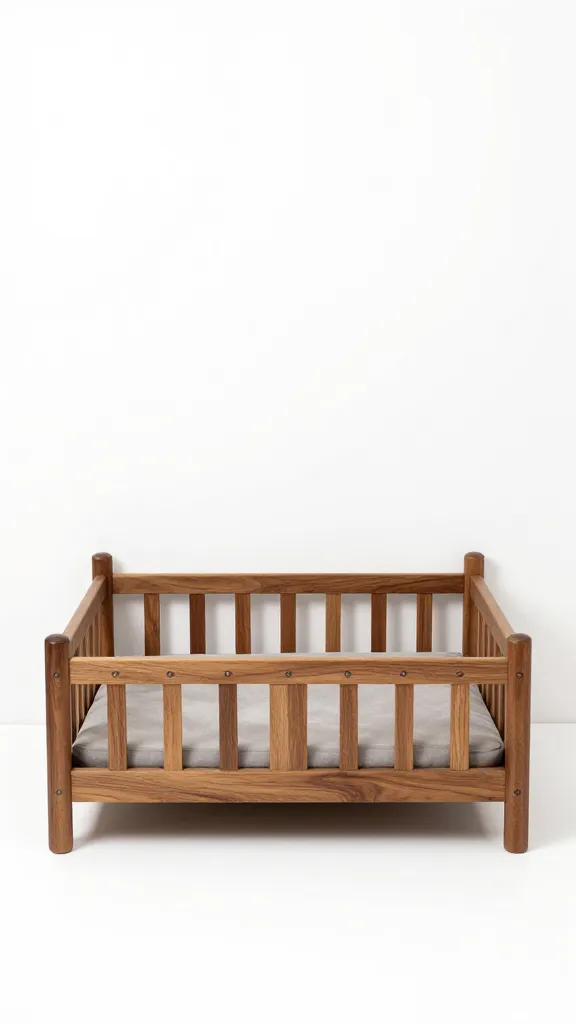
You control the size, style, and durability. No more guessing games with dimensions that never fit your dog or your space. You can match your furniture, stash toys underneath, or add rails so the pillow doesn’t escape every night.
Also, DIY doesn’t have to mean “rustic pallet disaster.” With a few basic tools and smart cuts, you can make a bed that looks store-bought—just without the markup.
Pick Your Bed Style: 5 Plans That Actually Work
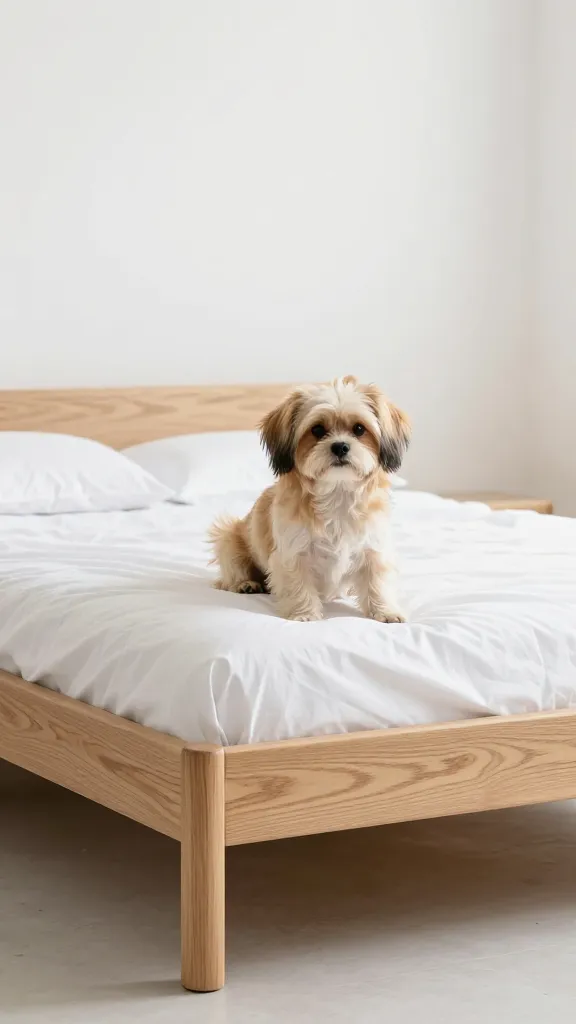
Not all dog beds need to be complicated. Choose one based on your time, tools, and pup’s sleep habits.
1) The Simple Platform
A clean, low-profile frame with slats or a solid panel. It’s perfect for modern spaces and dogs who sprawl like they pay rent.
- Materials: 1×4 or 1×6 boards, 2×2 cleats, plywood or slats
- Tools: Miter saw, drill/driver, sander
- Best for: Beginners, medium to large dogs
2) The Raised Bed with Storage
A platform with a cubby or two underneath for toys and blankets. Clutter? Never heard of her.
- Materials: 3/4″ plywood for the carcass, 1×2 trim for edges
- Tools: Circular saw with a guide, pocket hole jig, sander
- Best for: Apartment dwellers and Type-A organizers
3) The Bolster-Back Daybed
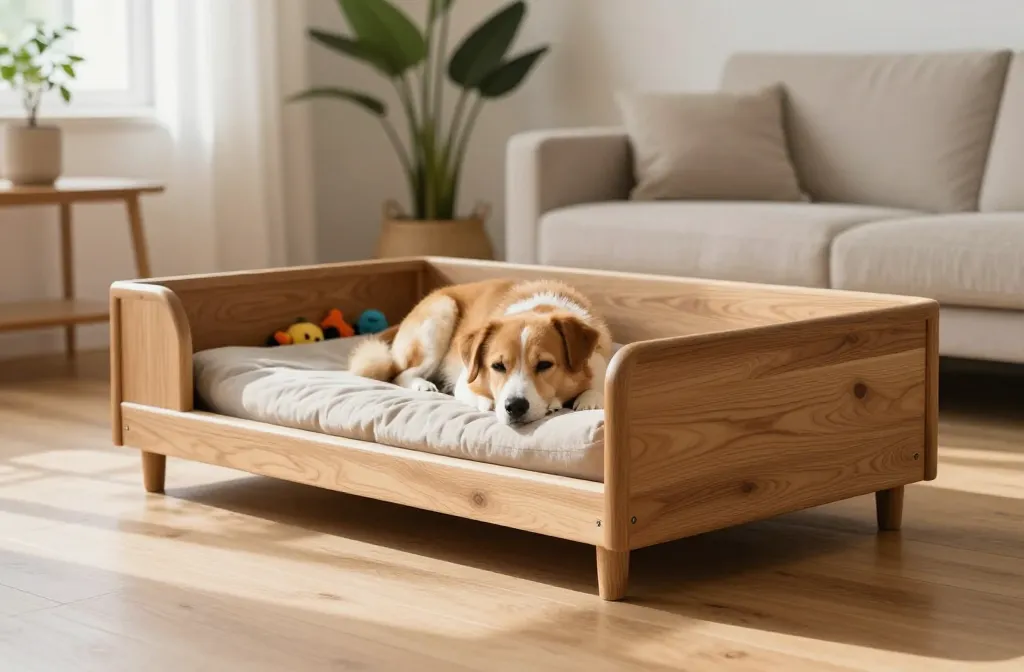
A headboard and two short sides keep the cushion corralled and look designer-y without effort.
- Materials: 1×8 or 1×10 boards, 2×2 legs or corner posts
- Tools: Jigsaw for curves (optional), drill, brad nailer
- Best for: Dogs who nest or lean
4) The Outdoor Cedar Lounger
Raised slatted frame for airflow and easy hose-downs. Add rubber feet and you’re patio-ready.
- Materials: Cedar 1x4s, exterior screws, exterior finish
- Tools: Saw, drill, countersink bit
- Best for: Hot climates, muddy dogs, porch nappers
5) The Mid-Century Stunner
Splayed dowel legs and a clean box frame. It screams “I read Dwell,” but your dog won’t judge.
- Materials: Plywood box, tapered legs with hanger plates
- Tools: Drill, sander, square
- Best for: Style points and small-to-medium dogs
Measure Your Dog (Yes, Really) Before You Cut
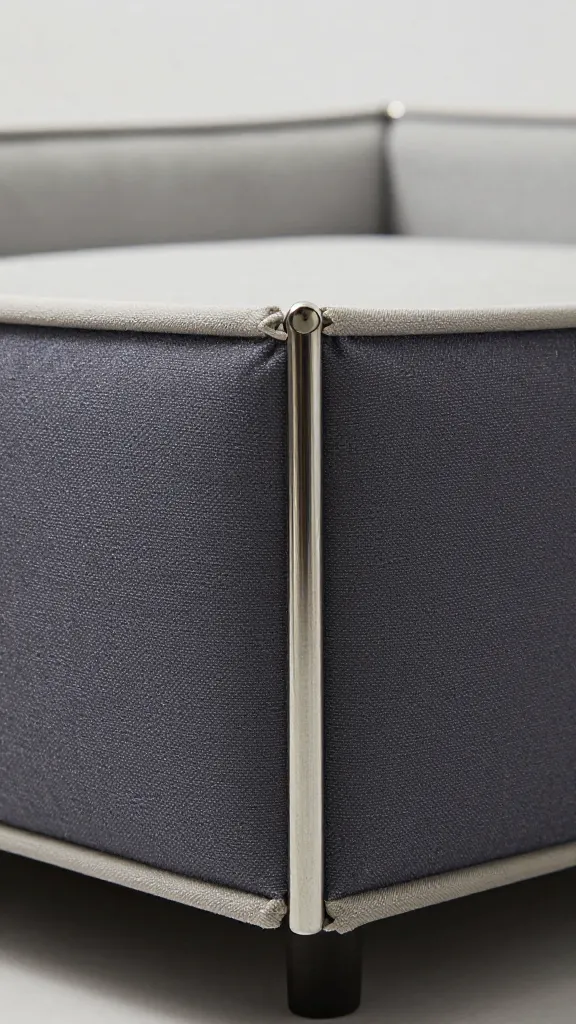
Guessing can backfire—either your dog dangles off the edge like a sleepy baguette or floats in a cavernous box. Measure nose-to-tail when stretched out and add 6–10 inches in each direction for comfort. Height-wise, keep the step-up easy: 4–6 inches for small dogs, 6–9 inches for mediums, 8–12 inches for large breeds.
Standard Cushion Sizes You Can Match
Use off-the-shelf inserts to keep things simple:
- Small: 24 x 18 in
- Medium: 30 x 20 in
- Large: 36 x 27 in
- XL: 42 x 30 in
Build your interior dimensions to fit the cushion you already own (or plan to buy). IMO, designing around a standard cushion saves your sanity.
Materials and Hardware That Survive Real Life
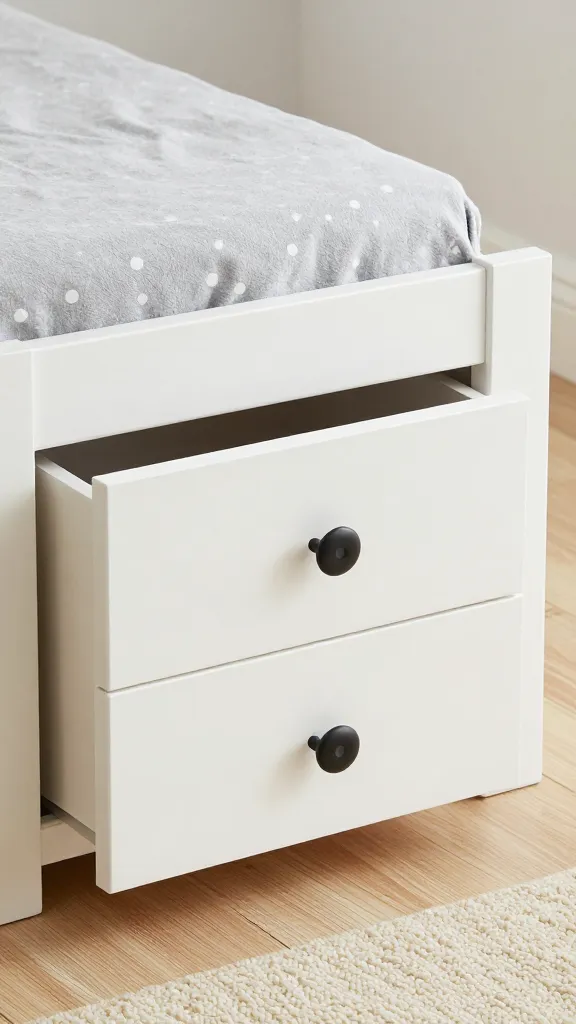
Choose lumber that won’t warp after your dog sneaks a wet belly nap.
- Lumber: Poplar or pine for budget builds; oak, maple, or birch ply for durability; cedar/teak for outdoor use
- Sheet goods: 3/4″ plywood for panels; avoid MDF near moisture
- Joinery: Pocket screws, countersunk wood screws, or dowels for a clean look
- Fasteners: Coated/exterior screws for outdoor beds; trim-head screws for visible faces
- Feet: Rubber bumpers or felt pads to protect floors and stop sliding
Dog-Safe Finishes (Because Chewers Exist)
After curing, most finishes are safe, but choose wisely:
- Interior: Water-based polyurethane, hardwax oil, or shellac
- Exterior: Spar urethane or penetrating oil for cedar
- Pro tip: Let finishes cure fully—72 hours minimum—before use. FYI, “dry” ≠ “cured.”
Step-by-Step: The Simple Platform Build
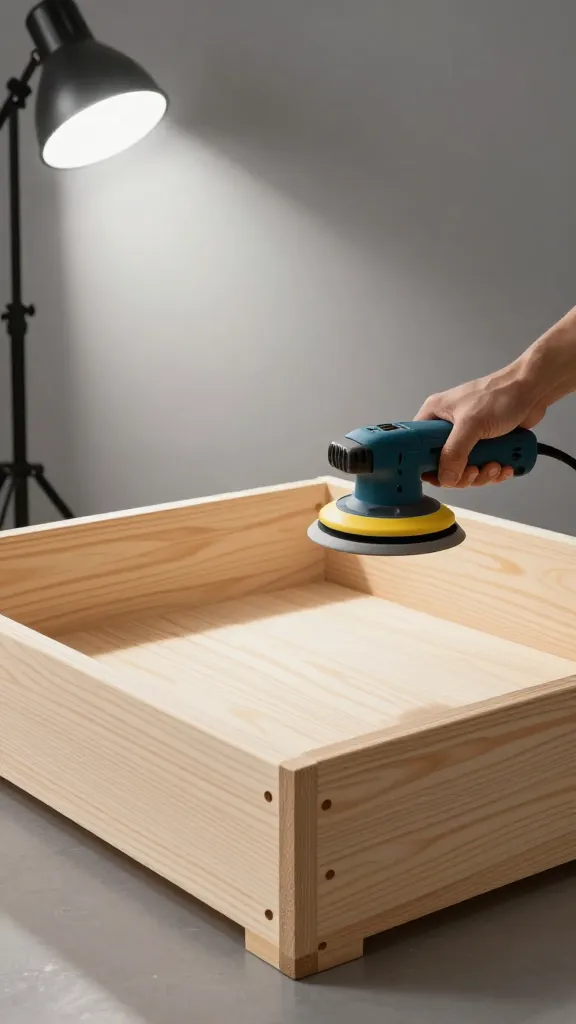
If you just want one great plan, start here. It’s fast, strong, and easy to customize.
- Cut your frame: Rip or buy 1×6 boards. Cut two long rails and two short rails to your cushion’s length and width plus 1 inch clearance.
- Add cleats: Screw 2×2 strips inside the rails, flush with the bottom. These will support the slats or panel.
- Assemble the box: Pocket screws or pre-drilled countersunk screws at the corners. Check for square.
- Base panel or slats: Cut 1/2″ or 3/4″ plywood to fit, or cut 1×3 slats with 1/2″ gaps. Attach to cleats.
- Legs (optional): 2×2 blocks for sturdy square legs, or buy tapered legs with hanger plates. Keep total height dog-friendly.
- Sand: Break all edges with 120-grit, finish sand to 180–220. No sharp stuff, ever.
- Finish: Apply your chosen finish in thin coats. Let it cure. Don’t rush this step unless you love paw prints in polyurethane.
- Add cushion: Drop in your insert and watch your dog ignore it for three hours, then suddenly claim it forever.
Optional Upgrades
- Guard rails: Add 1x3s around the back and sides to keep cushions in place.
- Name plaque: Small brass plate or routed name—yes, your dog deserves branding.
- Hidden storage: Hinged lid if you used a plywood platform; stash toys and spare covers.
Comfort Matters: Cushion and Cover Choices
Your gorgeous bed won’t matter if it sleeps like a gym mat. Choose a quality cushion and a cover that handles drool, dirt, and zoomies.
- Foam: 3–4″ high-density foam for larger dogs; memory foam topper for joints
- Insert alternatives: Shredded foam or polyfill inserts work for nesters
- Covers: Machine-washable canvas, twill, or outdoor fabric; zippered for easy cleaning
- Waterproof liner: Absolute lifesaver for puppies and seniors
Non-Slip Hacks
If your cushion moonwalks, try:
- Silicone drawer liner between cushion and base
- Velcro strips on the cushion bottom and bed base
- Raised rails that sit 1–2 inches proud of the cushion
Make It Fit Your Decor (Without Trying Too Hard)
You can lean cozy farmhouse, sleek minimal, or full-blown bougie. Your call.
- Modern: Flush edges, matte black legs, clear finish on birch ply
- Scandi: Rounded corners, light wood, neutral fabric
- Farmhouse: Whitewash or soft stain, beadboard sides, bronze pulls if you add drawers
- Industrial: Black pipe legs, dark stain, canvas cushion
Small Space Tips
- Slide-under design that tucks partway under a console or bench
- Corner-back bed with a triangular footprint
- Wall-mounted cleats with a floating platform (studs only, please)
Safety and Durability: Don’t Skip This
Safety beats style every time. You know your dog—build accordingly.
- Round everything: Ease corners and edges so zoomies don’t end in tears.
- No toxic chew zones: Use fully cured finishes and avoid loose trim.
- Strong joints: If your dog launches into bed, upgrade to pocket screws, glue, and corner blocks.
- Breathability: Slats help prevent mildew under thick cushions.
- Weight rating: For XL dogs, use thicker rails (1×8) and add a center support.
FAQs
What wood should I use if I’m on a budget?
Pine or poplar works great indoors. They’re affordable, easy to sand, and take paint or stain well. Just seal them with a water-based poly for durability.
How do I make a chew-resistant bed?
Use hardwoods like oak or maple, skip dainty trim, and keep edges rounded and flush. Add a tough canvas cover and provide chew toys so the bed doesn’t become the entertainment.
Can I build a bed for a senior dog with joint issues?
Absolutely. Keep the height low, add a ramp if needed, and use a firm 4″ foam base with a memory foam topper. Non-slip pads under the legs help prevent awkward landings.
What finish is safest for dogs?
Water-based polyurethane or hardwax oil after full cure. They’re low-odor, durable, and easy to touch up. Give it at least 72 hours to cure before use, longer if humidity runs high.
How do I clean the wooden base?
Use a damp cloth with mild soap, then dry immediately. Avoid soaking wood. For outdoor beds, rinse with a hose, let it dry fully, and refresh the exterior finish once or twice a year.
Can I build this with just a circular saw and drill?
Yep. Use a straightedge guide for clean cuts and a pocket hole jig for strong joints. A sander helps, but you can hand-sand in a pinch. IMO, the jig is worth the small investment.
Conclusion
You don’t need a cabinetmaker’s shop to build a beautiful, sturdy wood dog bed—just smart planning, a few solid materials, and a free afternoon. Pick a style, size it to your pup, and focus on safe edges, breathable support, and a cushion that actually invites naps. Build it once, and you’ll wonder why you ever bought those flimsy beds that shed foam like confetti.
Ready to upgrade your space? Check out our top picks below — hand-picked options that blend seamlessly into any home while keeping your pup cozy and secure.
As an Amazon Associate, I earn from qualifying purchases.