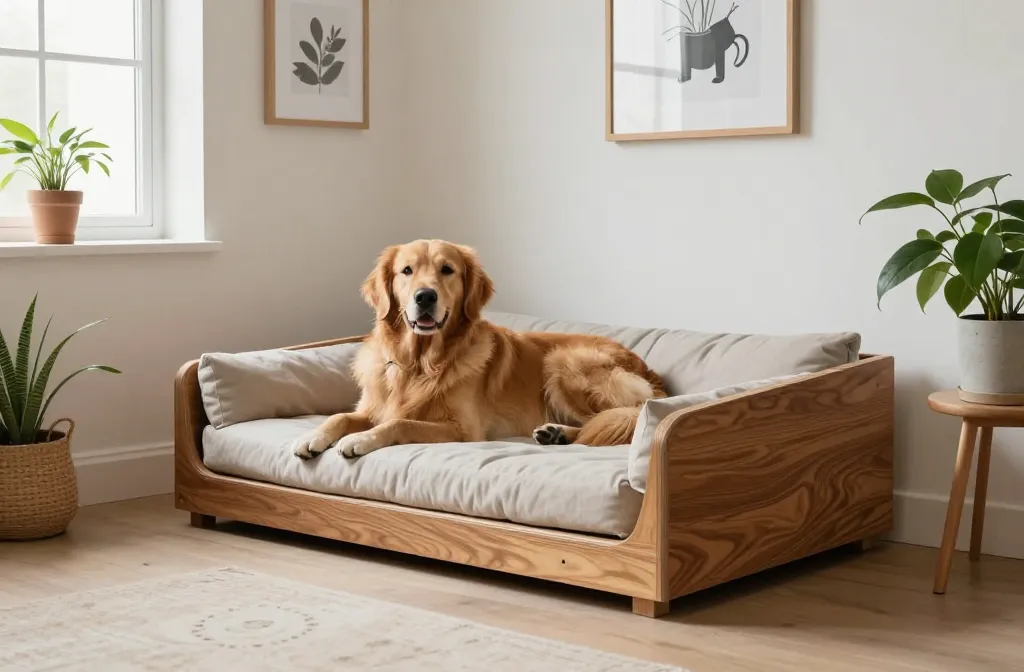
Small home, big dog? Corners save the day. A corner dog bed tucks right into unused space, looks built-in, and gives your pup a cozy nook to claim as their own. Even better—you can DIY one that fits your room, your style, and your dog’s weird sleeping habits. Grab a tape measure, a couple tools, and let’s turn that dusty corner into your dog’s favorite spot.
Why Build a Corner Dog Bed?
Space efficiency. Corners get awkward—use them. A triangular or wedge-shaped bed slides right in and opens up the room.
Custom comfort. Pick the right foam, the right height, and washable covers your future self will thank you for.
Style control. Match your trim, your floors, your vibe. No more clashing pet gear.
Budget win. DIY beats pricey boutique dog beds, and you can upgrade as you go, IMO.
Project 1: Simple Plywood Corner Platform
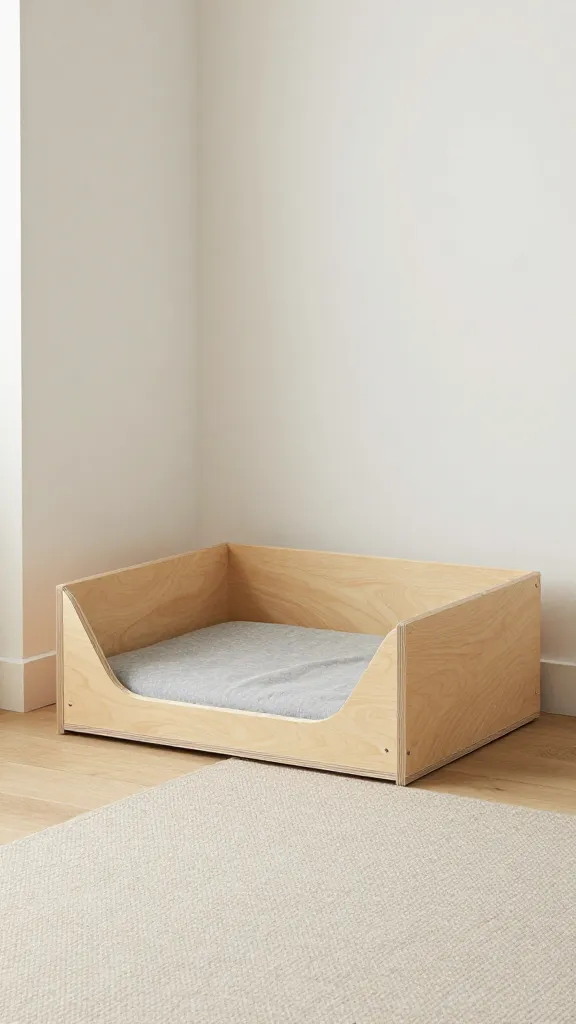
Got basic tools? You can knock this out in an afternoon. It’s a sleek platform with a cushion—clean lines, easy to paint or stain.
What you’ll need
- 1 sheet 3/4″ plywood (or project panel), cut to a right triangle that fits your corner
- 1×3 or 1×4 boards for the front lip and support cleats
- Wood glue, 1-1/4″ screws, sandpaper, paint or stain + poly
- Foam cushion (3–5″ thick) and a washable cover
How to build it
- Measure the corner: Measure out from the corner along both walls. Pick a depth that doesn’t block traffic (usually 24–30″).
- Cut the triangle: Mark and cut your plywood into a right triangle. Sand all edges.
- Add supports: Attach 1×3 cleats under the two wall edges and the front edge to prevent sagging.
- Front lip: Attach a 1×3 on the front edge to keep the cushion from sliding.
- Finish: Paint or stain and seal. Let it cure fully before adding the cushion (your dog’s nose won’t accept fresh paint fumes, FYI).
Pro tip
Round the front corners with a jigsaw and sand smooth. It looks custom and saves shins during late-night snack runs.
Project 2: Built-In Floating Corner Nook
Want that “did the contractor do this?” vibe? Float a triangular shelf between studs and slide a cushion on top. Minimal footprint, big style points.
Materials
- 2×2 or 2×3 lumber for wall cleats
- 3/4″ plywood top
- Heavy-duty anchors (if you can’t hit studs), screws, level
- Trim to hide edges, paint, and caulk
Steps
- Find studs on both walls and mark heights. Typical height: 6–8″ for small dogs, 8–12″ for medium, 12–16″ for large. Keep it easy to hop onto.
- Install cleats: Level and screw 2x2s along both walls from the corner to your chosen width. Add a front cleat across the span (use L-brackets if needed).
- Top it: Cut a triangular plywood top and screw it to the cleats.
- Finish: Add trim, caulk seams, and paint to match your baseboards. Slide in cushion.
Safety note
Big dog? Overbuild the supports. Add center blocking under the shelf or step the height down for easy access, IMO.
Project 3: Corner Crate-Bed Combo
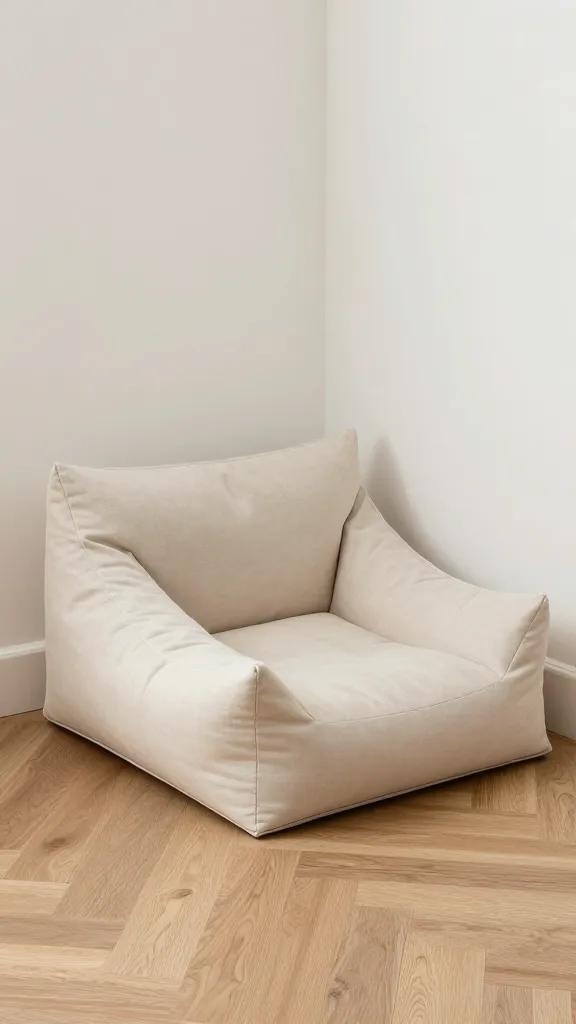
If your dog likes a den, build a corner unit with a crate below and a cushion platform above. It tames toy chaos and hides the crate like it’s furniture.
Design highlights
- Lower level: fits a standard wire or wooden crate.
- Upper level: triangular bed with bolsters.
- Storage cubbies on the sides for toys and leashes.
Build basics
- Frame a triangular shell with 3/4″ plywood sides and top. Leave the front open for the crate.
- Add internal dividers to create cubbies and support the top.
- Ventilate the back with cutouts if you enclose the crate area.
- Finish with trim and hardware that matches your furniture.
Bonus: Add a hinged top to stash blankets. Your dog will never know where the magic fluff comes from.
Project 4: Pallet Wood Corner Bed (Rustic Vibes)
Love a reclaimed look? Pallet slats make great sides and a base with texture and depth. Just pick heat-treated pallets (marked “HT”) and sand like you mean it.
Materials
- Pallet slats, 1/2″ plywood base, 1×2 corner posts
- Nails or screws, wood filler, sander, stain + seal
- Foam cushion with a durable cover
Assembly
- Base: Cut a triangular plywood base.
- Posts: Install short 1×2 posts at the triangle corners.
- Slat walls: Nail slats around the two back edges to create low walls (8–10″ high).
- Finish: Sand, stain, and seal. Add felt pads so it doesn’t scratch floors.
Want extra cozy? Line the inside walls with upholstered panels using batting and fabric stapled to thin hardboard.
Project 5: Upholstered Corner Bolster Bed
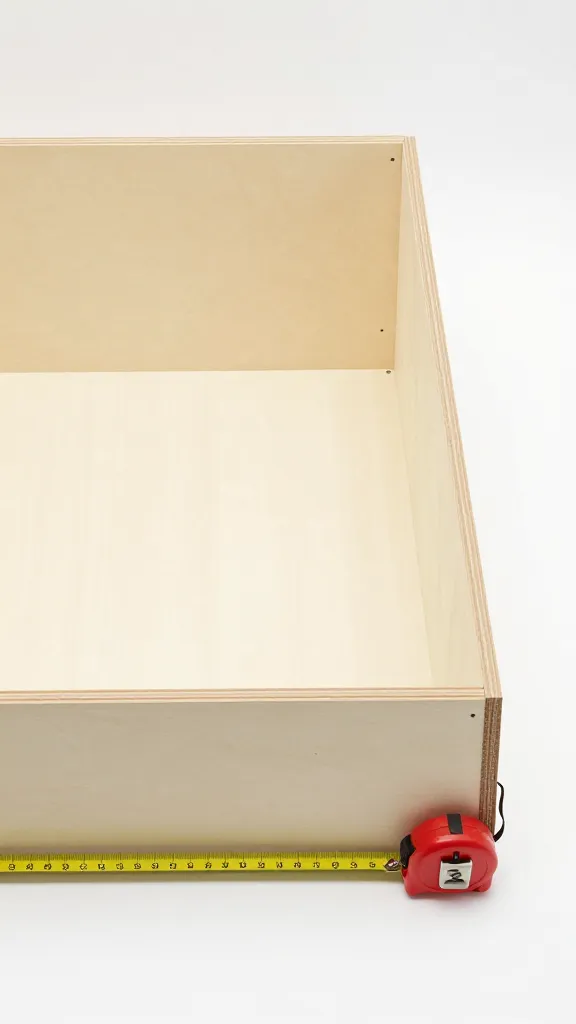
If your pup curls up like a cinnamon roll, bolsters rock. This project builds a triangular cushion with soft, supportive sides that hug the corner.
Cut list
- High-density foam for base (3–5″) cut to a right triangle
- Bolster inserts: pool noodles, foam tubes, or polyfill rolls
- Durable upholstery fabric, zipper(s), piping optional
Sewing steps
- Template: Trace your foam triangle on craft paper; add 1″ seam allowance.
- Panels: Cut top/bottom triangles and long strips for the sides.
- Zipper: Install along one side strip for easy washing.
- Bolsters: Sew channels along the two wall edges; stuff with inserts.
- Assemble: Sew top, sides, and bottom. Slide in foam and you’re done.
Fabric picks? Outdoor-rated or performance fabric laughs at drool and muddy paws, FYI.
Smart Sizing: Get the Fit Right
Don’t eyeball it. Measure your dog from nose to base-of-tail while sleeping. Add 6–8″ wiggle room.
- Small dogs: 20–24″ sides on the triangle usually work.
- Medium dogs: 28–34″ sides.
- Large/giant: 36–48″+. Scale up supports accordingly.
Height matters too. Older pups appreciate lower step-in heights and firmer foam so they don’t sink like a marshmallow.
Materials That Survive Real Life
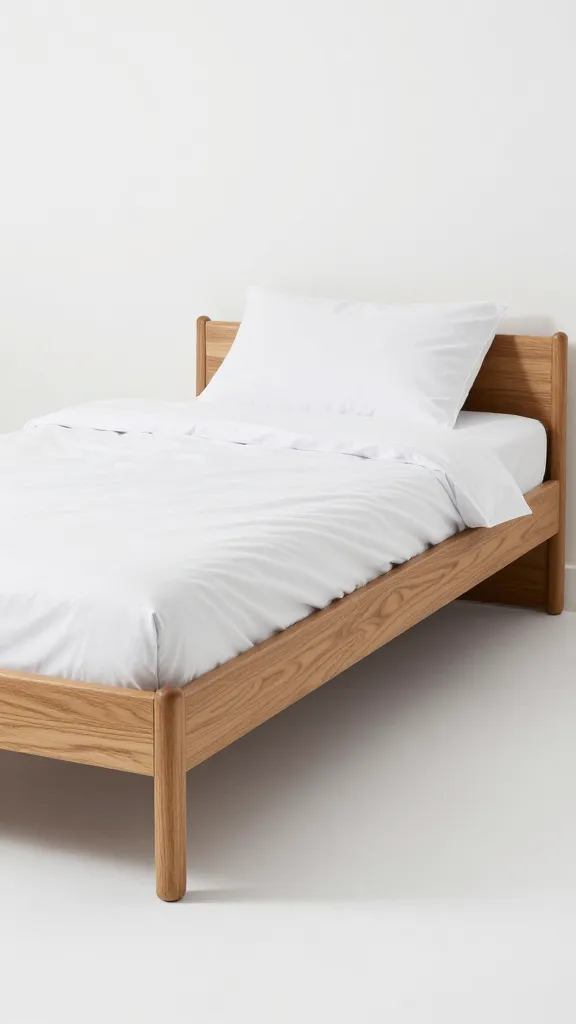
- Foam: High-density polyurethane or latex foam holds shape. Memory foam on top = luxe, but keep a firm base.
- Covers: Removable with zippers. Performance twill, canvas, or marine vinyl win. Avoid loose weaves that trap hair forever.
- Finishes: Low-VOC paints and water-based poly keep odors down.
- Non-slip: Add rubber feet, rug pad, or silicone dots to stop drift.
- Accidents: A waterproof liner between foam and cover saves your sanity, IMO.
Style Tweaks That Make It Look Custom
- Match your trim: Paint the bed base the same color as your baseboards.
- Bevel or round edges for a furniture-grade finish.
- Add a nameplate or leather handle—cute and functional.
- Use wall color for built-ins so they visually disappear.
- Layer textiles: Cushion + throw blanket = instant cozy.
Maintenance: Keep It Fresh
- Wash covers every 2–4 weeks; shake out daily hair.
- Vacuum foam through the liner to reduce dander.
- Check hardware on built-ins quarterly so wobbles don’t happen.
- Rotate cushion monthly to prevent butt-prints.
FAQ
How do I keep the bed from sliding on hardwood?
Stick silicone bumpers under the base, add felt pads plus a thin rug pad, or run a bead of clear silicone along the bottom edges and let it cure. For platform builds, screw the base to wall cleats if you’re okay with tiny holes.
What foam thickness works best?
Small dogs: 3″. Medium: 4″. Large: 5–6″. Pair a firm base foam with a 1″ memory foam topper for comfort without sinkage. Elderly pups love firmer support.
Can I build one without power tools?
Yes. Many big-box stores will cut plywood to size. Use construction adhesive and screw-by-hand for assembly. For cushion-only builds, skip wood entirely and sew a triangular bolster bed.
Is a corner bed good for anxious dogs?
Totally. Corners create a protected nook. Add bolsters or low walls and a breathable cover. Keep it away from noisy vents or heavy foot traffic.
How do I clean up after accidents?
Use a waterproof liner around the foam, then wash the cover on warm with an enzyme cleaner. Wipe sealed wood with mild soap and water; avoid harsh chemicals that can irritate paws.
What if my corner isn’t a perfect right angle?
Old houses, we see you. Make a cardboard template of the actual angle first, then transfer to wood or fabric. A small front overhang or scribe-and-sand fit hides weird angles nicely.
Conclusion
Corner dog beds do more than save space—they turn awkward corners into cozy, good-looking nooks your pup will actually use. Pick a design that fits your tools and your dog’s sleep style, start simple, and upgrade as you go. Build it sturdy, make it washable, and don’t forget to add a little flair. Your dog gets a throne, and your room finally breathes—win-win.
Ready to upgrade your space? Check out our top picks below — hand-picked options that blend seamlessly into any home while keeping your pup cozy and secure.
As an Amazon Associate, I earn from qualifying purchases.