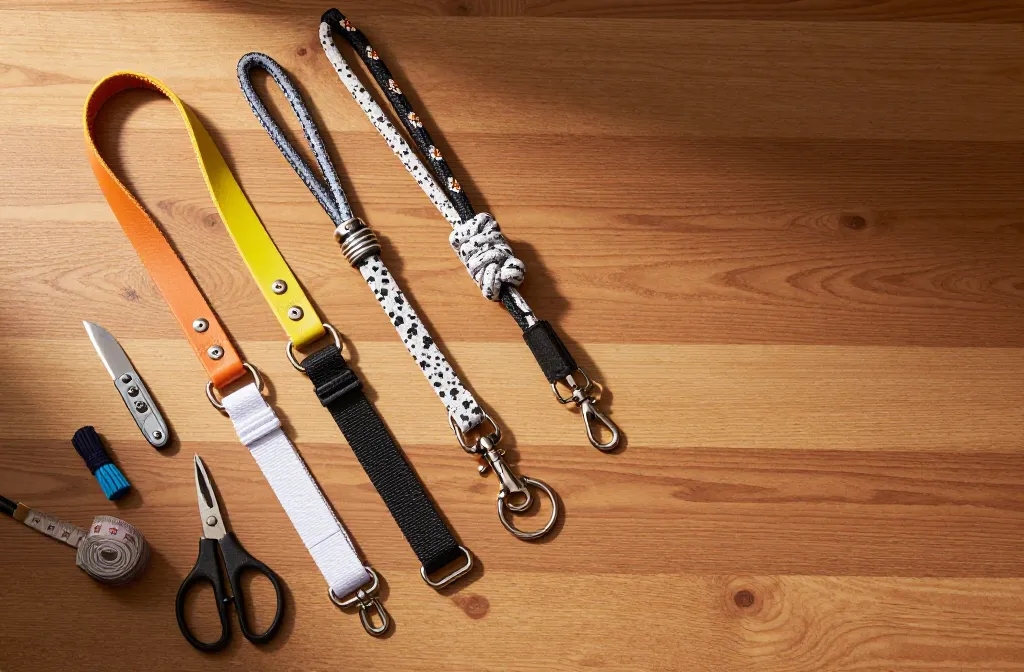
You want a leash that fits your dog, your vibe, and your budget. Store-bought options can feel boring, overpriced, or just… wrong. So let’s fix that. We’ll build leashes that look great, hold up to real walks, and don’t require a degree in knot theory. Sound good?
Why DIY a Dog Leash Anyway?
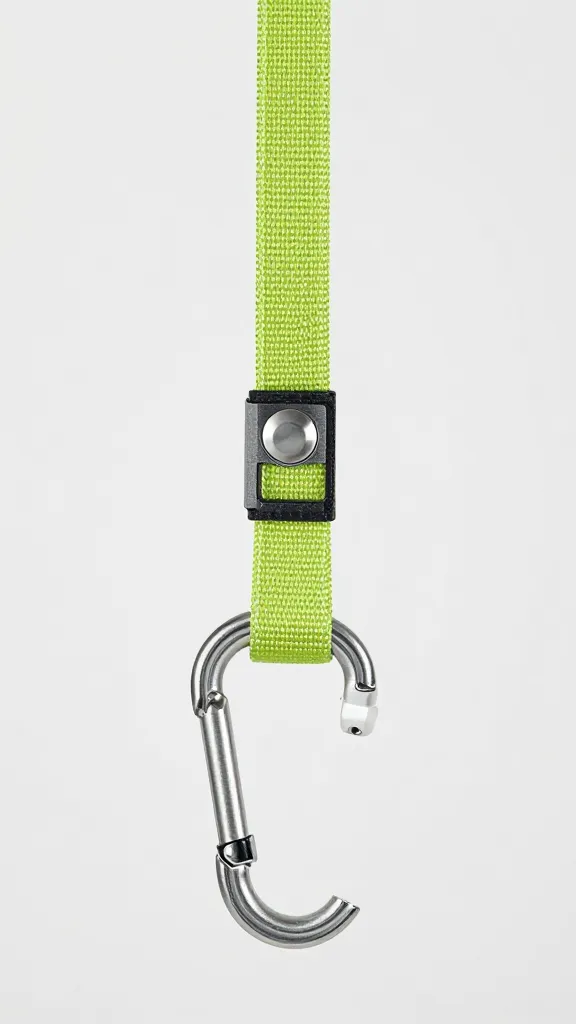
You get control over the look, length, and feel. You also pick materials that match your dog’s size and habits—no more mystery webbing. Plus, DIY saves cash and scratches that “I made this” itch. And IMO, a custom leash beats a generic one every time.
Materials That Don’t Quit
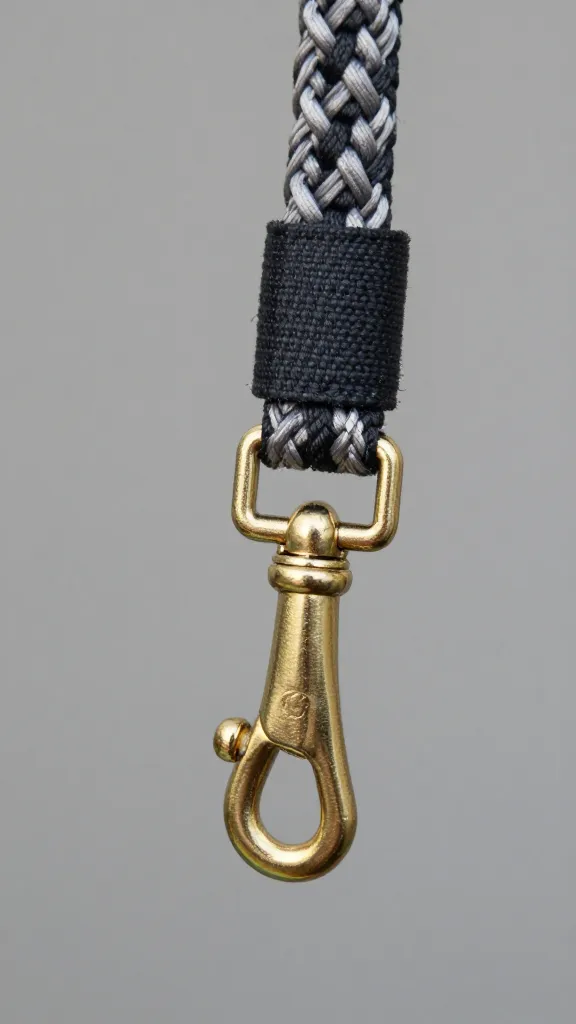
Before you craft, choose the right stuff. Leashes take constant tension, friction, and the occasional squirrel-induced jerk. So pick smart.
- Climbing rope (8–10 mm): Comfortable, durable, and easy to knot. Great for medium to large dogs.
- Paracord (Type III/550): Lightweight and strong; ideal for smaller dogs or braided designs.
- Webbing (nylon or polyester, 1″ wide): Classic, sturdy, easy to sew. Polyester handles weather better than nylon.
- Biothane: Waterproof, stink-proof, wipe-clean. Perfect for muddy adventures.
- Hardware: Swivel bolt snap or carabiner rated for at least 400–600 lb, D-rings, Chicago screws, or heavy-duty rivets.
Tools You’ll Actually Use
- Sharp scissors or a hot knife (melts and seals rope/webbing ends)
- Lighter for sealing synthetic fibers
- Riveter or Chicago screws and a screwdriver
- Heavy-duty needle and thread (bonded nylon) if you sew
- Measuring tape and painter’s tape (low-key hero for clean cuts)
Easy Rope Leash (Beginner-Friendly)
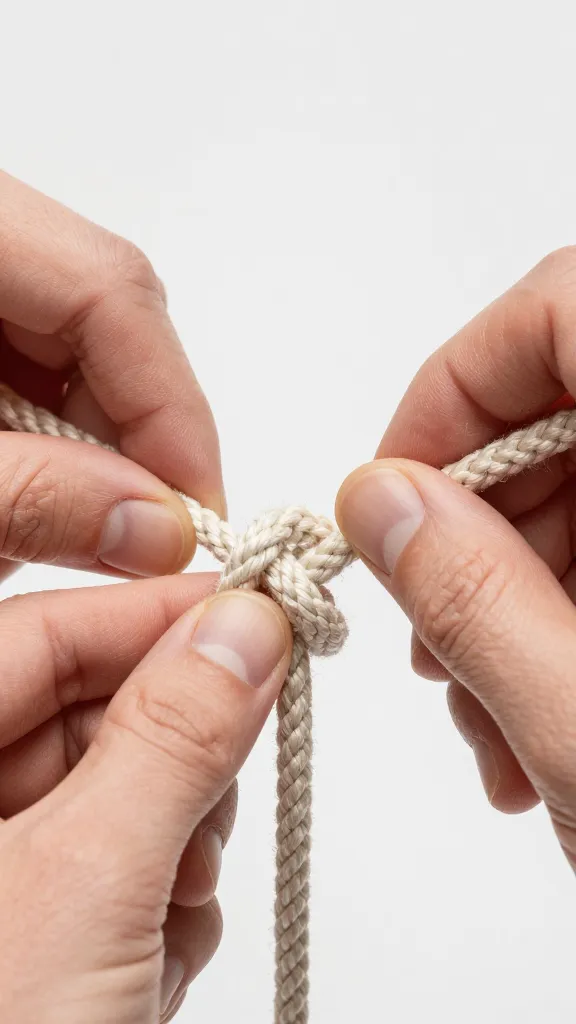
Start here if you want quick, strong, and stylish. A rope leash takes about 20 minutes and looks pro with minimal effort.
- Measure: Cut 6–7 feet of 8–10 mm climbing rope for a standard leash.
- Attach the clip: Thread the rope through a swivel snap. Fold 4–5 inches back on itself to form a short tail.
- Secure the splice: Wrap the folded section with strong twine or paracord for 1.5–2 inches, pulling tight. Finish with a drop of super glue.
- Make the handle: On the other end, form an 8–10 inch loop. Repeat the same wrap.
- Seal ends: Carefully melt rope ends to prevent fraying. Don’t set your project—or your fingers—on fire, please.
Optional Upgrades
- Sliding O-ring: Add one near the handle for poop bags or to clip around your waist when parked.
- Traffic handle: Create an extra loop 12–18 inches from the clip for city control.
Webbing Leash With Rivets (Sewing Optional)
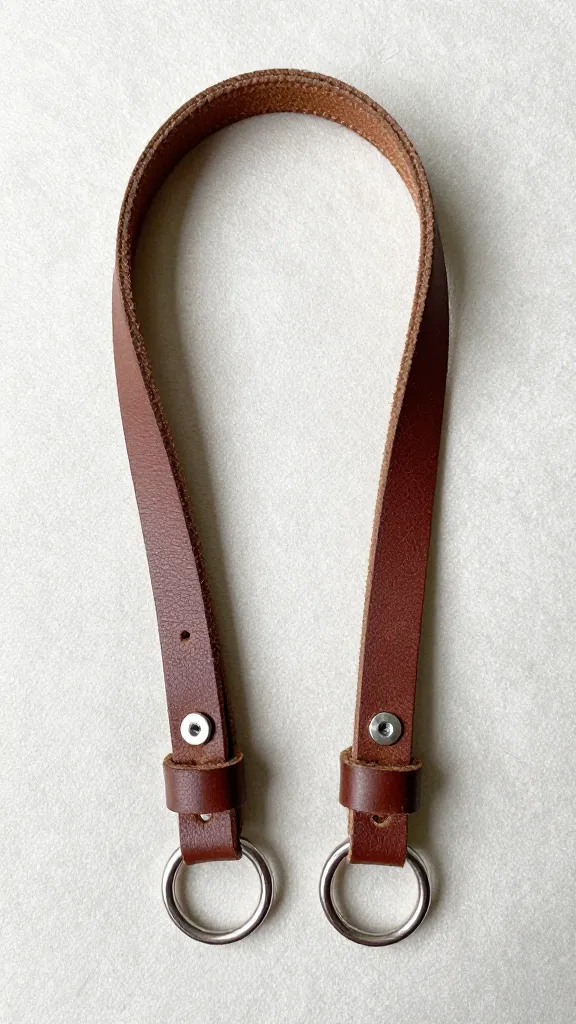
Webbing looks clean and pro. You can rivet it in minutes, no machine needed. This one feels like a store buy—minus the markup.
- Cut: 6–8 feet of 1″ polyester webbing.
- Clip end: Thread through the snap, fold 4 inches back. Punch two holes through both layers, spaced 1 inch apart. Install two double-cap rivets or Chicago screws.
- Handle: Fold 8–10 inches at the other end, punch, and rivet. Add a D-ring inside the handle if you like to clip things. FYI, you’ll love this for keys when your pockets fail you.
- Seal: Lightly melt the ends to stop fraying.
If You Want to Sew
- Use a box-and-cross stitch with bonded nylon thread.
- Set your machine to a longer stitch length to avoid perforating the webbing.
- Reinforce stress points with two rows of stitching.
Paracord Braided Leash (Looks Fancy, Still Easy)
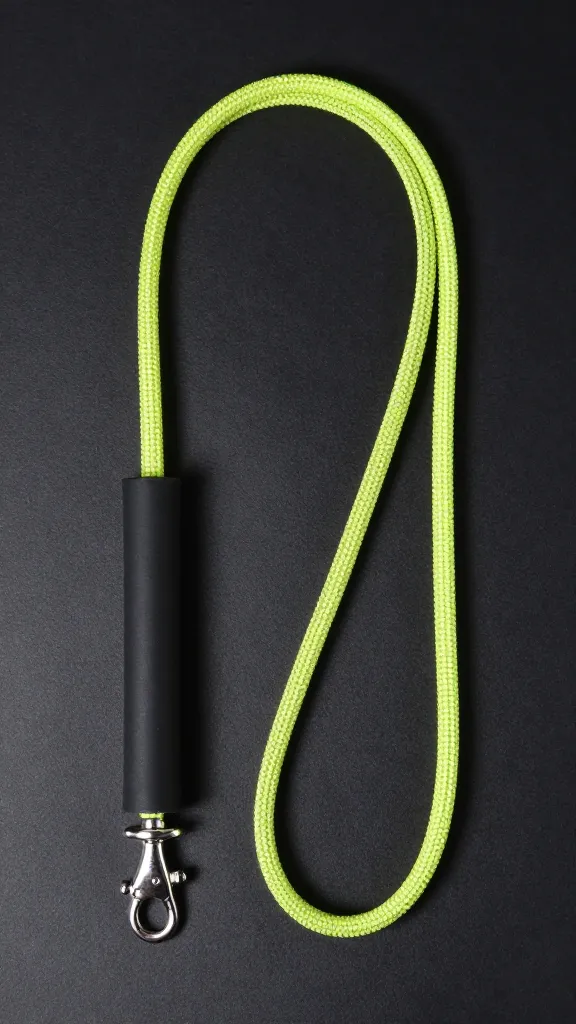
Paracord gives you color options galore. It’s strong for small to medium dogs and packs a vibe. Braiding also turns Netflix time into productivity—look at you, multitasking.
- Pick your braid: A four-strand round braid is easy and comfy in hand.
- Measure: For a 6-foot leash, plan roughly 8–10 feet of paracord per foot of finished braid, depending on tightness. Yes, it’s a lot. That’s the point.
- Start at the clip: Lark’s head two or four strands through the snap. Even up lengths.
- Braid: Keep tension consistent. Pause every few inches to straighten.
- Finish the handle: Braid to your target length, then loop strands back to form a handle. Weave tails into the braid and melt neatly.
Pro Tips for Clean Braids
- Use contrasting colors for a striking pattern.
- Tape the starting end to your table so it doesn’t wander off like your dog at the park.
- Trim and singe ends carefully, then pinch flat with a spoon while warm for a tidy finish.
Biothane Leash (Waterproof and Wipe-Clean)
If your dog thinks puddles are a personality trait, go Biothane. It’s flexible, stink-proof, and looks sleek.
- Cut to length: 5–6 feet works for most walks.
- Attach hardware: Fold back 3–4 inches at the clip end. Mark and punch two holes. Secure with Chicago screws (use threadlocker) or rivets.
- Handle loop: Repeat at the other end, 8–10 inches for comfort.
- Edge finish: Biothane doesn’t fray, so just clean cuts. Done.
Why I Love It (And You Might Too)
- Rain? Mud? Beach? No problem. Wipe and go.
- Great for dogs that chew fabric—though nothing is chew-proof, just chew-resistant. Important distinction, IMO.
Hands-Free or Adjustable Leash
Want versatility? Build in multiple attachment points. It’s clutch for training, running, or when you need a coffee hand.
- Two clips + sliding rings: Add an O-ring near each end. Clip to your belt or around your torso. Adjust length by clipping to different rings.
- Knots on rope: Tie figure-eight knots at intervals and clip to them for quick length changes.
- Detachable traffic handle: Add a small loop on its own mini-clip near the dog end for city maneuvers.
Safety First (Because You Like Your Dog, Obviously)
- Use rated hardware: Look for load ratings and avoid flimsy keychain carabiners.
- Inspect often: Check stitches, rivets, and wraps for wear every few weeks.
- Avoid shock cord: Elastic seems clever until it slingshots your arm. Hard pass.
- Match strength to dog: Big pullers need thicker rope or webbing and robust snaps.
- Test at home: Do a few controlled tugs before you hit the sidewalk.
Style Moves That Make It Yours
- Color blocking: Mix rope colors or stitch contrasting thread on webbing.
- Leather accents: Wrap splice points with leather strips for a polished look.
- Name tag band: Add a small stitched or riveted strap for ID tags near the handle.
- Reflective: Use reflective webbing or add reflective tape for night walks. Your shins will thank you.
DIY Dog Leash FAQs
What length should I make my leash?
For everyday walks, 5–6 feet hits the sweet spot. Go 8–10 feet for hikes or recall training. Urban walkers or big pullers may prefer a 4-foot leash for tighter control.
Which material lasts the longest?
Climbing rope and Biothane both crush it for durability. Rope handles great tension and abrasion. Biothane resists water and stink and cleans up fast. Webbing holds up too, but it absorbs water and can fray sooner.
Can I use a carabiner instead of a traditional snap?
Yes—if it’s a locking carabiner with a solid load rating. Avoid novelty clips. Make sure it fits your dog’s collar ring without snagging.
How do I keep knots or wraps from slipping?
Use the right knots for the material (figure-eight, double fisherman’s, or constrictor wraps). Pull everything tight and add a dab of super glue to the wrap if you want extra security. Test under load before real walks.
Is paracord safe for big dogs?
One strand? Not great. Multiple strands braided tightly? Better. For large, strong pullers, choose climbing rope, 1″ webbing, or Biothane with robust hardware. Paracord works best for small to medium dogs or as decorative wraps.
How do I clean homemade leashes?
Rope and webbing: soak in warm water with mild soap, rinse, air dry. Biothane: wipe with soapy water and you’re done. Avoid harsh chemicals that can weaken fibers or corrode hardware.
Wrap-Up: Go Make One Your Dog Will Love
You don’t need fancy tools or a workshop. Pick a material, add solid hardware, and build a leash that fits your dog and your life. Start simple, then tweak features as you go. Next walk, you’ll show off something that looks good and works even better—FYI, your dog won’t care how it looks, but you totally should.
Ready to upgrade your space? Check out our top picks below — hand-picked options that blend seamlessly into any home while keeping your pup cozy and secure.
As an Amazon Associate, I earn from qualifying purchases.