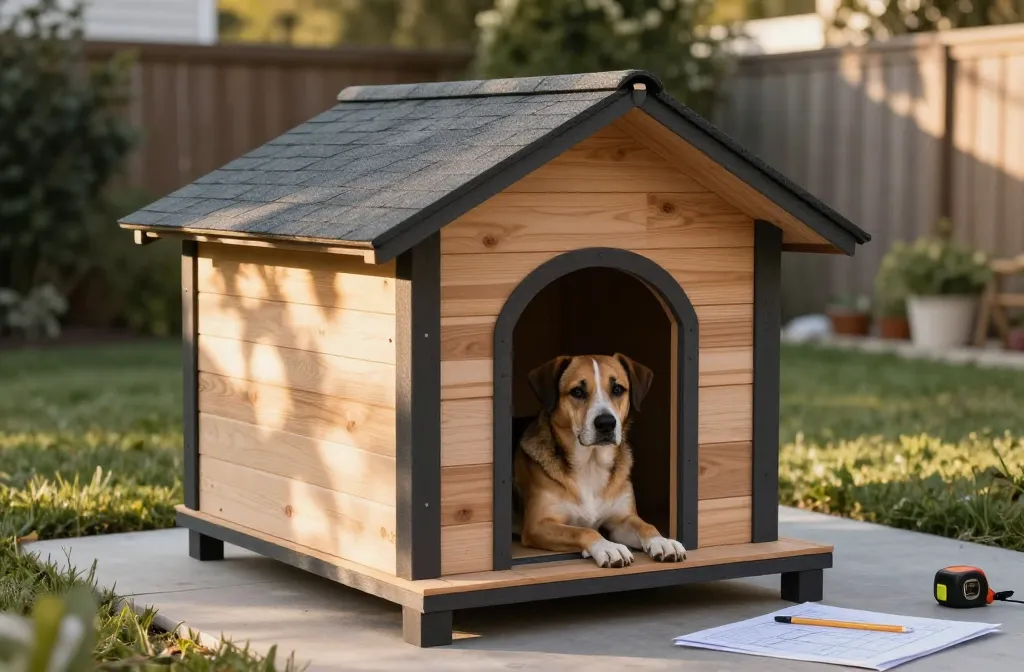
Your dog doesn’t care about your Pinterest board. They want shade, a comfy nap zone, and maybe a tiny porch to judge the neighbors from. So let’s build them a dog house that looks great, stands up to the weather, and doesn’t require a contractor’s license. Fair warning: you might end up with a house nicer than your first apartment.
Start Smart: Measure Your Dog, Then Design
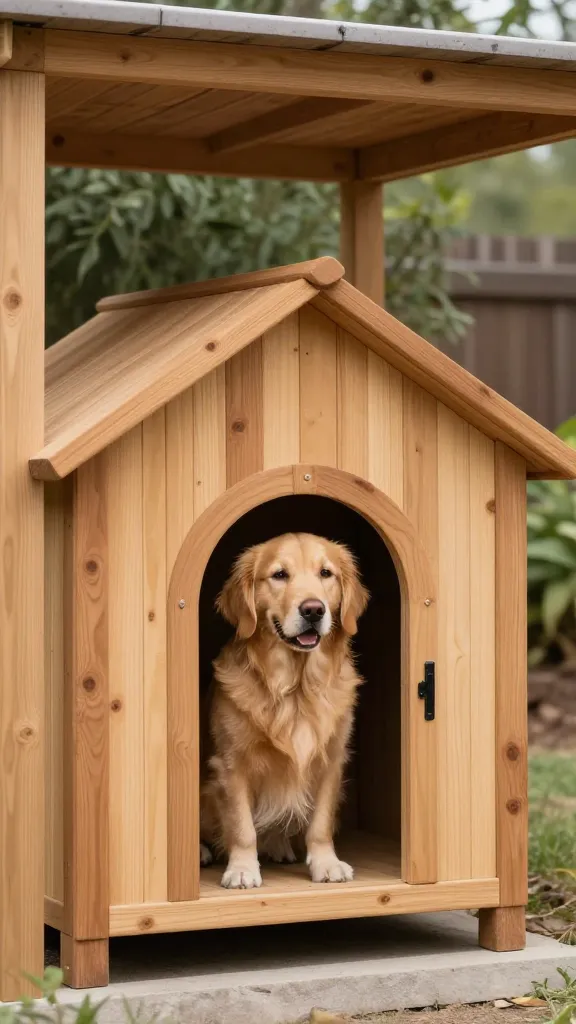
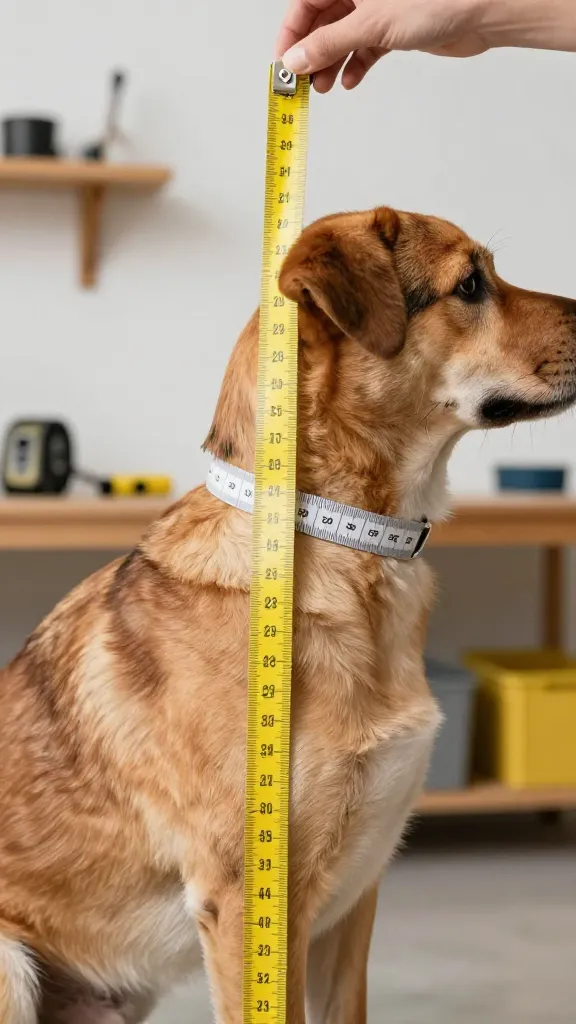
You can’t wing it with size. A good dog house lets your pup stand up, turn around, and nap without turning into a pretzel. Measure your dog’s height at the shoulder and length from nose to tail base.
- Door height: About 80% of shoulder height.
- Interior height: Shoulder height + 25-30%.
- Floor area: Dog length x dog length (roughly square) so they can curl up snugly.
Too big and heat escapes in winter. Too small and your dog won’t use it. Goldilocks it.
Materials That Actually Last (and Look Good)
You’ll see a lot of “pallet magic” online. Cool, but let’s keep it safe and sturdy.
- Frame: Pressure-treated 2×2 or 2×3 lumber for the base; regular kiln-dried for walls/roof framing.
- Walls: Exterior-grade plywood or tongue-and-groove boards for a nicer finish.
- Floor: Plywood over joists with waterproof membrane on top (vinyl flooring scraps work great).
- Roof: Asphalt shingles, corrugated metal, or polycarbonate panels for light.
- Fasteners: Exterior screws; avoid nails that wiggle loose.
- Finish: Low-VOC exterior paint or stain rated pet-safe once cured.
FYI: Avoid pressure-treated wood where your dog can chew. Keep that for legs/base only.
Five Dog House Styles Worth Saving
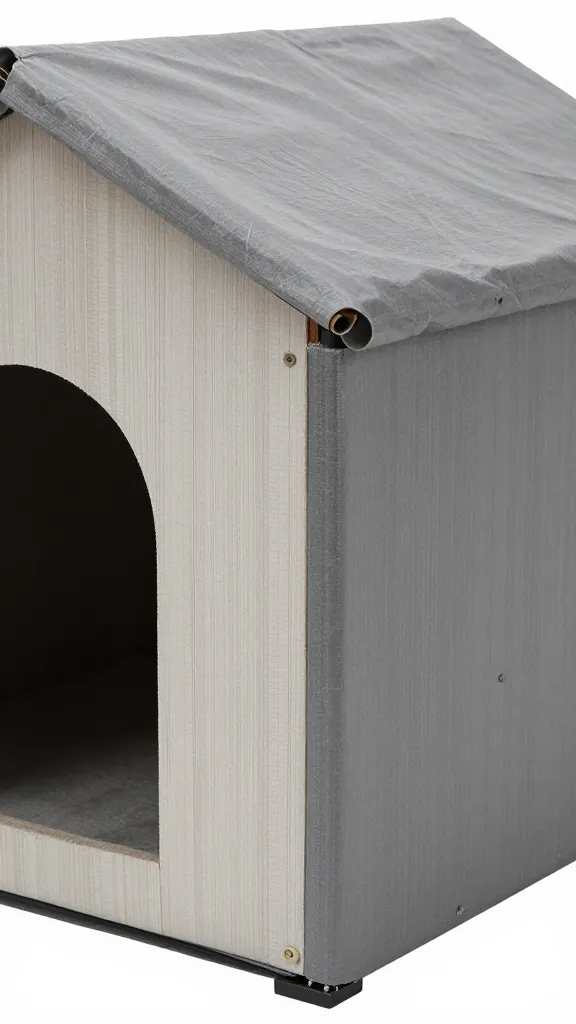
1) The Modern Box with a Green Roof
Clean lines, simple build, major curb appeal. Add a low-maintenance sedum mat on top and you just earned eco points.
- Why it rocks: Extra insulation, reduced runoff, and it looks fancy without trying.
- How to do it: Flat roof framed with 2x3s, waterproof membrane, shallow planter box edges, drain holes at corners, lightweight soil + sedum.
- Pro tip: Pitch the roof 1-2% toward the back so water actually leaves.
2) Classic Gable with a Twist
Traditional shape, but upgrade it with cedar shingles and a small front overhang.
- Must-haves: Vent slots at the top of each gable, 6-8 inches of overhang, and drip edge metal.
- Style tip: Paint the trim in a bold color. Dogs don’t care, your neighbors will.
3) The Porch Sitter
Add a deck area for lounging. Dogs love options: sun, shade, people-watching.
- Layout: Enclosed sleeping box + half-size front deck with slats for drainage.
- Upgrade: Add a removable shade sail or a hinged awning.
4) Insulated A-Frame
Strong, simple, and great for cold climates. It sheds snow like a champ.
- Construction: Two plywood triangles, connecting ridge beam, insulated sandwich panels (plywood–foam–plywood).
- Bonus: Hinged side panel for cleaning (more on hinges later).
5) The Upcycled Show-Off
Old cabinet? Wine crate? Retired nightstand? Convert it with a weatherproof base and you’ve got instant character.
- Reality check: Seal raw edges, add vents, and elevate it. Cute doesn’t equal durable unless you help it.
Weatherproofing That Actually Works
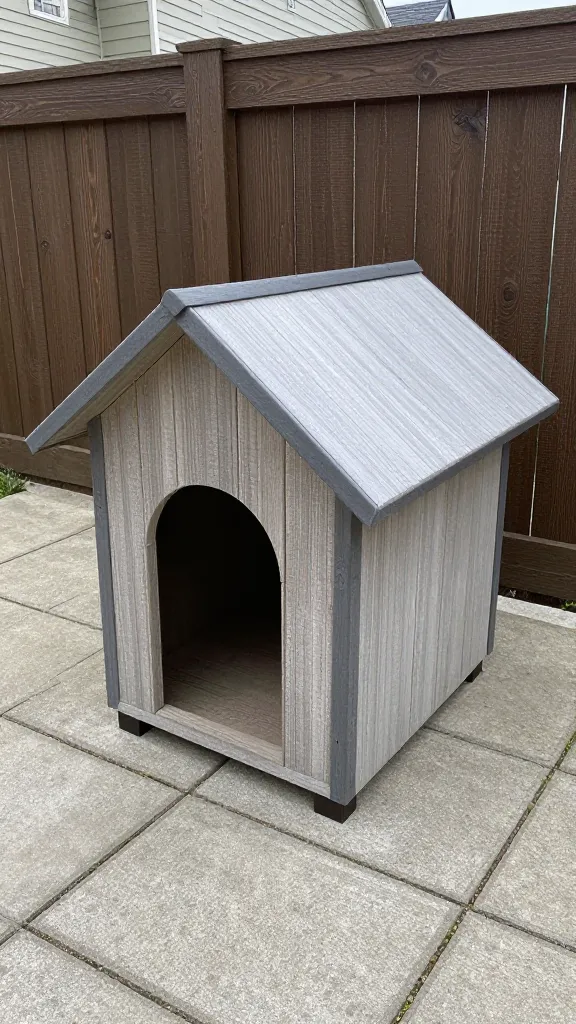
You don’t need a bunker, but you do need basics that keep the house dry and cozy.
- Raise the floor: 3-4 inches off the ground with treated runners or pavers. Moisture is the silent villain.
- Seal the seams: Exterior caulk at joints; add flashing tape around the roof edges.
- Wind block: Offset or L-shaped entry stops drafts without a flappy door (which some dogs hate).
- Insulation: Rigid foam in walls/roof with a 1/2-inch interior plywood skin so no one snacks on foam.
- Bedding: No blankets outside in winter—they trap moisture. Use raised bed pads, straw, or closed-cell foam with a washable cover.
Smart Venting (So It Doesn’t Smell Like a Gym Bag)
Cut two small vent slots high on opposite walls, cover with hardware cloth. That airflow removes moisture without sacrificing warmth. In hot climates, add a screened rear window under the eave for cross-breeze heaven.
Build Tricks That Save You Time (and Headaches)
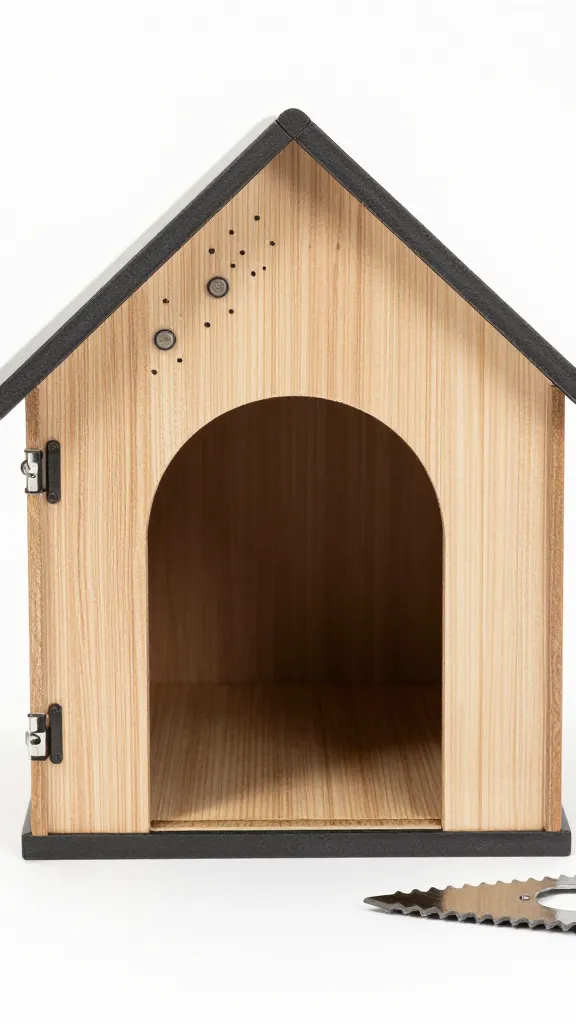
You don’t need fancy tools—just build like you want to clean it without swearing.
- Hinged roof or wall: Make one panel swing up with a piano hinge for easy cleaning.
- Modular floor: Drop-in floor panel means quick bedding changes and deep cleans.
- Pre-paint panels: Paint walls flat on sawhorses, then assemble. Your back will thank you.
- Template door: Cut a cardboard door first; test your dog’s confidence and adjust size.
Fastener and Finish Cheats
– Use exterior screws with star heads. Fewer stripped screws, less rage.
– Roll on porch/deck paint for the floor. It resists claws and accidents.
– Round over sharp edges with a sander. Dogs find every corner with their ribs—guaranteed.
Comfort Upgrades Your Dog Will Actually Use
You don’t need fairy lights. You need comfort and a few quality-of-life wins.
- Insulated door flap: If your dog tolerates it, use a two-layer vinyl flap with magnets. Cut it wide, not tall.
- Raised bed platform: A slatted or perforated insert keeps the pad off any condensation.
- Removable shade: Clip-on shade sail or bamboo screen for summer.
- Chew-proof edges: Aluminum angle trim on door jambs deters gnawing.
Heating and Cooling, IMO
– Passive first: Shade, vents, insulation, light colors outside.
– Heaters: Use only pet-rated, chew-protected low-watt heaters with thermostat and tip/overheat shutoff. Mount cords in conduit. Supervise initially.
– Summer hack: Freeze water bottles and tuck them under the bed panel. Low-tech? Yes. Effective? Also yes.
Step-by-Step: The One-Day Build (Weekend Warrior Special)
Here’s a simple plan for a medium dog house you can knock out in a day.
- Cut list: Floor panel (3/4-inch plywood), four wall panels (1/2-inch), two roof panels, 2×2 framing for corners and base.
- Assemble base: 2×2 rectangle, screw down floor panel, add runners underneath to raise it.
- Frame and attach walls: 2×2 studs at corners, screw on wall panels, cut doorway after you confirm height.
- Add roof: Simple sloped roof with a 1-2 inch pitch. Hinge the back panel if you want easy clean-out.
- Weather layer: Roofing felt + shingles (or corrugated). Add drip edge.
- Finish: Caulk seams, sand edges, paint exterior, add vent slots and interior floor covering.
Time left? Slap on trim and a nameplate. Your dog can’t read, but you’ll smile every time.
Style Touches That Don’t Sacrifice Function
Yes, you can make it cute and still practical.
- Two-tone paint: Body one color, trim another. Classic.
- Mini address numbers: Adorable and slightly extra.
- Planter box on the side: Herbs or dog-safe flowers like marigolds and rosemary.
- Motion solar light: So you don’t trip on nighttime potty breaks.
FAQ
What’s the best size for a dog house?
Build just big enough for your dog to stand, turn, and lie curled. Oversized houses feel drafty and don’t hold heat. Use the 80% door rule and keep interior height only 25-30% taller than shoulder height.
Do I need insulation?
If you get cold winters or hot summers, yes. Insulate walls and roof with rigid foam and fully cover it with interior plywood. Leave the floor with a raised bed insert instead of stuffing foam where it can get wet.
What should I put on the floor?
Go with a waterproof layer (vinyl or porch paint) and a removable, washable bed pad. In wet climates, use straw in winter and replace it often. Avoid thick blankets outside—they trap moisture and get funky fast.
How do I keep rain out of the door?
Add a small covered porch or extend the roof 6-8 inches. An offset or L-shaped entry blocks wind-driven rain without a full door flap. If you use a flap, weight the bottom and add side magnets.
Can I use pallets?
Sure, carefully. Pick heat-treated (HT) pallets only, avoid anything stained or chemical-smelling, and seal all surfaces. Pallet slats make great cladding over a solid plywood wall—don’t rely on them for structure alone.
What about bugs and chew damage?
Seal every raw edge, elevate the house, and add fine mesh over vents. For door frames and corners, cap with aluminum angle or hardwood trim. A bored dog chews more, so give them enrichment outside the house too, IMO.
Wrap-Up: Build It Once, Love It for Years
You don’t need a blueprint worthy of an architect. You need solid materials, smart airflow, and a design your dog actually enjoys. Start with proper sizing, lift it off the ground, and hinge something for easy cleaning. Do those things and your DIY dog house stops being a project—and becomes your pup’s favorite hangout.
As an Amazon Associate, I earn from qualifying purchases.