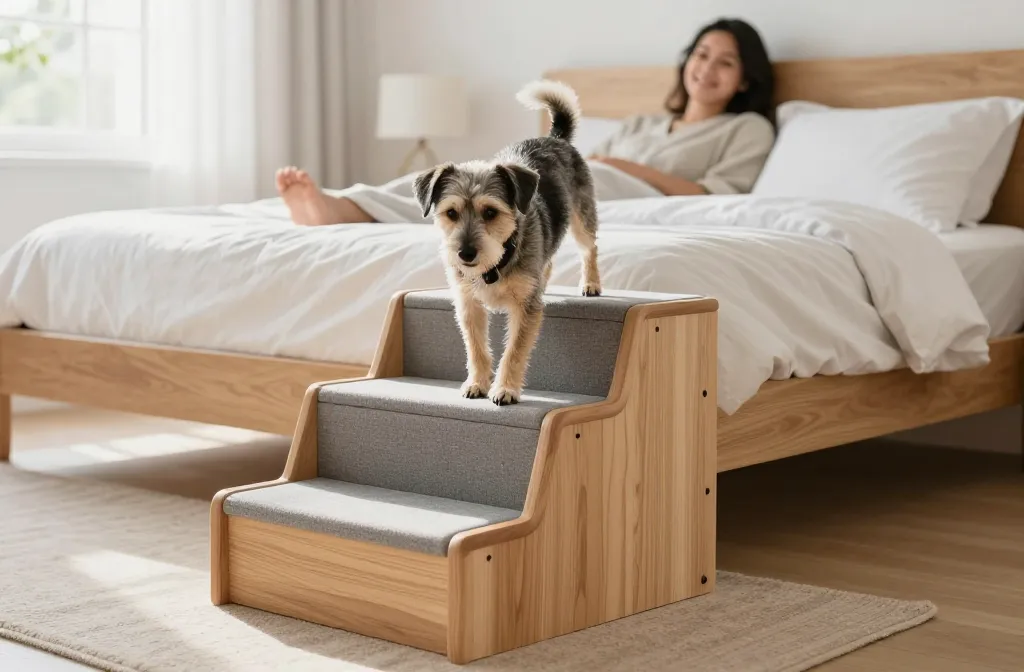
Your dog wants on the bed. Your back says “please no.” DIY dog steps solve both problems without wrecking your decor or your budget. They’re sturdy, customizable, and surprisingly simple to build. Ready to make your pup’s bedtime leap a gentle stroll?
⭐ Our Top Pick: See it on Amazon
Why Dog Steps Beat the Flying Squirrel Approach
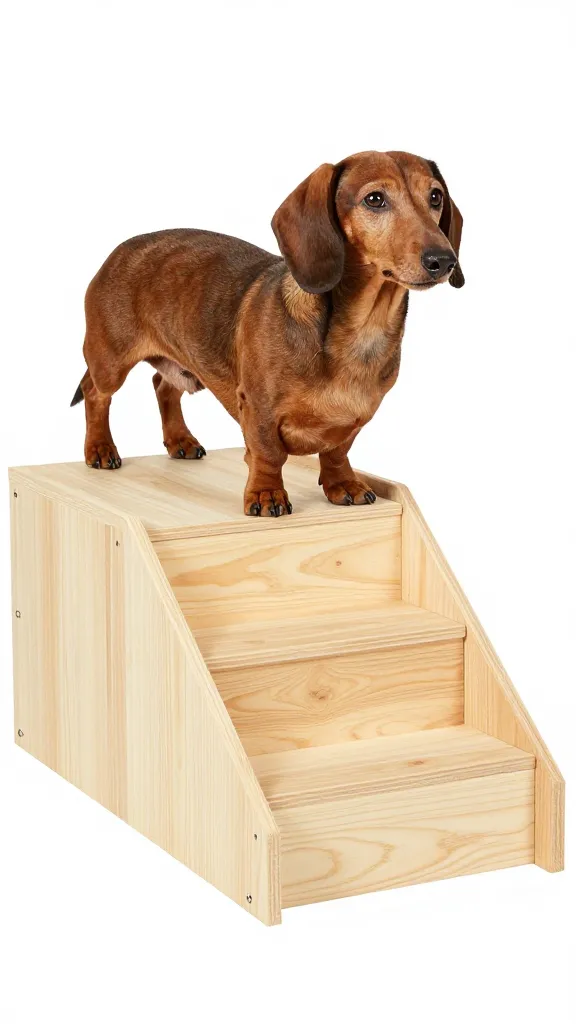
You protect your dog’s joints, your sleep, and your sheets. Jumping off a high bed can stress hips and knees (hello, vet bills). Steps give stability and confidence, especially for seniors and small breeds.
You also control the size, height, and look. Store-bought ramps don’t always fit your bed or your style. DIY steps, though? You pick everything from the angle to the fabric. FYI, it’s more fun than doom-scrolling.
Measure First: The Big Three Numbers
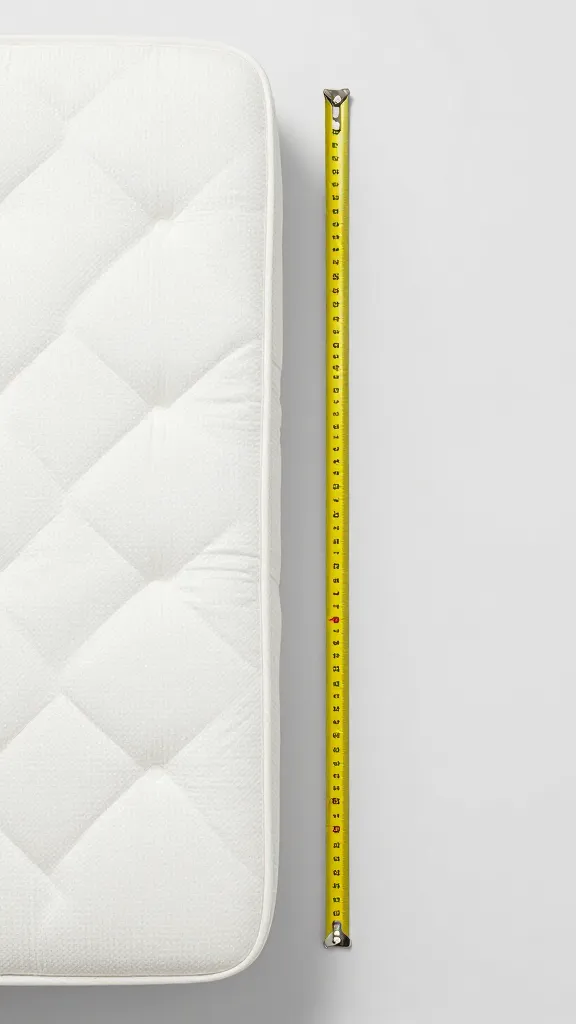
Before you touch a saw, grab a tape measure. You need three things:
- Bed height: Floor to top of mattress. This sets how many steps you need.
- Tread depth: The surface each paw lands on. Aim for 8–12 inches for small dogs, 10–14 inches for medium/large.
- Riser height: The vertical distance of each step. Keep it 4–6 inches for small dogs, 6–8 inches for bigger pups.
Quick Fit Formula
- Number of steps = bed height ÷ riser height (round to a whole number).
- Total run = number of steps × tread depth. Make sure you have floor space.
- Angle matters: gentler angle = happier joints. If your dog hesitates on steep stairs, increase tread depth or add one more step.
Project 1: Simple Plywood Steps (Weekend Build)
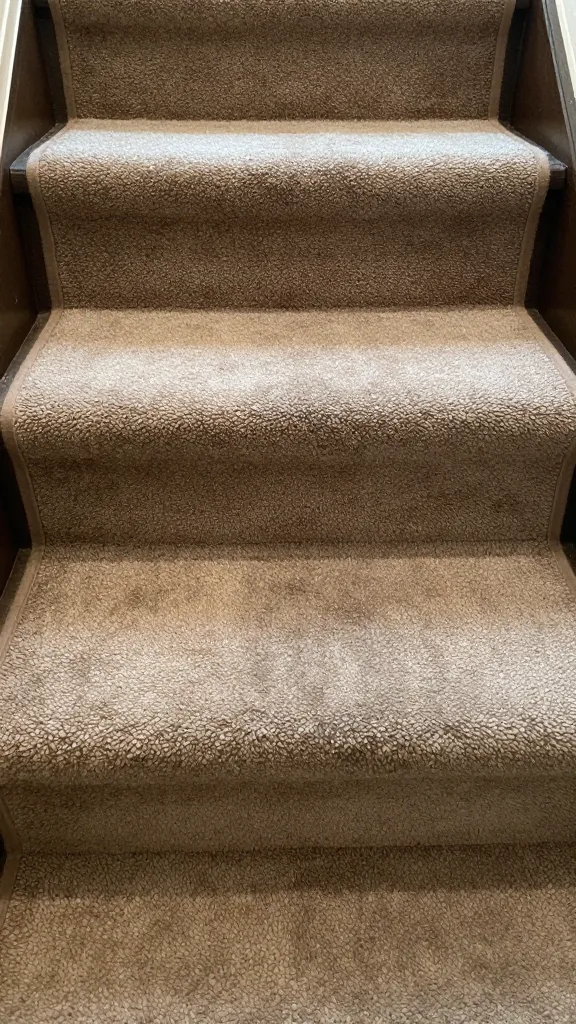
This one looks clean, costs less than a fancy dog bed, and handles medium dogs easily.
Materials
- 3/4″ plywood sheet (one is usually enough)
- Wood screws (1-1/4″ to 1-5/8″) and wood glue
- Sandpaper (120–220 grit)
- Carpet tiles or rubber stair treads (optional but smart)
- Paint or stain + poly (if you care about aesthetics… which you do)
Build Steps
- Cut sides: Draw your step profile on plywood based on your measurements. Think of it like a right triangle with “notches.” Cut two identical sides.
- Add treads and risers: Cut rectangles for each tread and riser. Dry fit them along the sides, then glue and screw in place.
- Reinforce: Add a center support under the longest tread if your dog weighs 40+ lbs.
- Finish: Sand, paint or stain, then add carpet tiles or rubber for traction. Your dog’s paws will thank you.
Pro Tips
- Pre-drill to avoid splitting.
- Round over edges with sandpaper so no sharp corners jab a sleepy snoot.
- Test height with stacked books before building. Yes, really.
Project 2: Crate-and-Cushion Hack (No Saw, Minimal Effort)
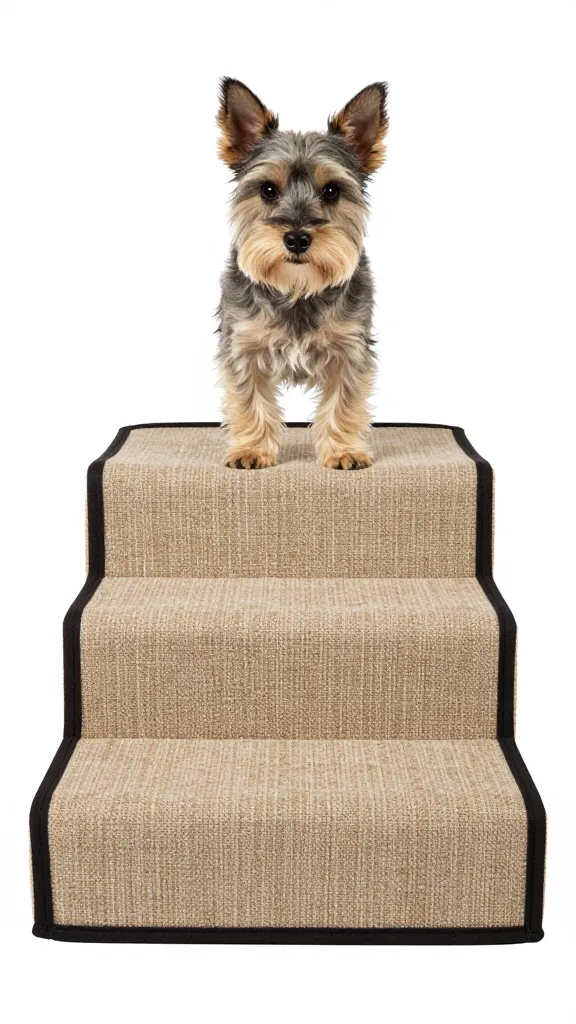
Need something tonight? Use sturdy wooden crates or stackable storage cubes.
How-To
- Stack crates in a staggered staircase up to mattress height.
- Secure them with zip ties or L-brackets so nothing shifts mid-zoomie.
- Add grip: Place yoga mats, carpet squares, or foam pads on top. Hot glue keeps everything in place.
This works great for small dogs. For bigger pups, reinforce with a hidden 1×2 frame inside each crate.
Project 3: Foam Steps with Washable Covers (Lightweight + Cozy)
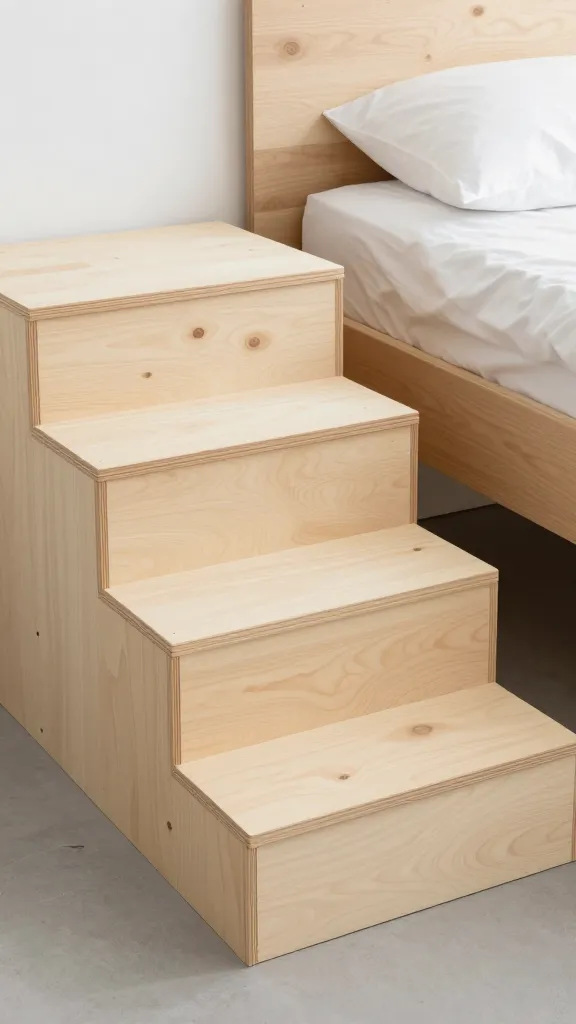
If you don’t want wood tools or screws, foam steps win. They’re light, quiet, and plush.
Materials
- High-density upholstery foam (4–6 inches thick)
- Spray adhesive
- Upholstery fabric or washable knit, plus a zipper or Velcro
- Non-slip shelf liner for the bottom
Build Steps
- Cut foam blocks to tread and riser sizes using an electric knife or sharp bread knife.
- Stack and glue to form the staircase. Clamp or weight while it cures.
- Sew a slipcover like a fitted box with a zipper. Or wrap like a gift and secure with Velcro strips if sewing isn’t your love language.
- Add non-slip to the underside so the whole thing stays put.
IMO this is ideal for apartments and small dogs who love soft landings.
Project 4: Hidden Storage Steps (Clutter? Never Heard of Her.)
Why not hide toys, treats, and lint rollers inside? These steps hinge open and still look sleek.
Design Notes
- Build a plywood box for each step with a hinged top tread.
- Use soft-close hinges so no slamming near sensitive ears.
- Line with vinyl or melamine for easy wipe-downs after muddy adventures.
Assembly Flow
- Construct boxes sized to your tread/riser plan.
- Join boxes in a stair stack with screws from the inside so the exterior stays clean.
- Attach treads with hinges, add felt bumpers, then top with carpet or rubber.
Bonus: Add hidden casters on the back and a small pull to roll the unit away for cleaning.
Make It Safe: Traction, Stability, and Training
You can build the prettiest steps on the planet, but safety keeps the tail wagging.
Traction Ideas
- Carpet tiles with low pile for grip and vacuumability.
- Rubber stair treads for heavy-duty traction and easy cleaning.
- Textured paint + silica grit for a durable, minimal look.
Stability Musts
- Anti-slip feet or a rubber mat under the base.
- L-brackets to wall or bed frame if the unit feels tippy.
- Weight test: Stand on the bottom step yourself. If it wobbles with you, it won’t inspire dog confidence.
Training Your Dog to Use Steps
- Lead with treats: Lure one step at a time. Celebrate like you won the lottery.
- Keep sessions short: 2–3 minutes, a few times per day.
- Block old routes temporarily so your pup doesn’t default to parkour.
Style It: Make It Look Like It Belongs
Function matters, but you also want something that doesn’t scream “pet accessory.”
- Match finishes: Stain to your bed frame or use the same paint color as your baseboards.
- Use upholstery fabric that echoes your duvet or headboard. Pattern hides fur, FYI.
- Trim it out with simple molding or edge banding for a furniture-grade look.
- Hide seams with iron-on edge tape on plywood.
Maintenance: Keep It Fresh
You don’t need a weekend overhaul. Just keep a quick routine.
- Vacuum weekly to clear fur and grit from treads.
- Wipe rubber with mild soap monthly.
- Tighten screws every few months, especially if you have a jumper.
- Wash covers on cold and air-dry to prevent shrinkage.
FAQ
How many steps does my dog need?
Count steps by dividing your bed height by a comfortable riser height. Small dogs do best with 4–6 inch risers, larger dogs with 6–8 inches. Adjust until your dog climbs without hesitation.
Are ramps better than steps?
It depends on your dog. Dogs with significant mobility issues often prefer a gentle ramp. Confident walkers handle steps fine, especially if you keep risers low and treads deep. IMO, steps take less floor space and look more “furniture.”
What’s the best tread material?
Go for non-slip and easy-clean. Rubber treads offer the most grip. Carpet tiles feel cozy and replace easily if they get gross. Avoid slick wood unless you add texture.
How do I stop the steps from sliding?
Add a rubber mat underneath or stick on non-slip feet. If your floors get dusty (whose don’t?), wipe both surfaces before testing. For ultra security, use discreet brackets into the bed frame.
Will my dog actually use them?
Most dogs will if you introduce them well. Start slow, use treats, and practice daily. If your dog still refuses, lower the angle, add traction, or try a short ramp as a bridge step.
What if I rent and can’t drill into anything?
Build a freestanding unit with a wide base and rubber feet. Foam or crate builds shine here. You get zero holes and full stability.
Conclusion
DIY dog steps keep your pup safe, your style intact, and your nights drama-free. Choose a design that fits your space, dial in the right measurements, and prioritize traction and stability. Then train with patience and treats, and enjoy the smug satisfaction of solving a real problem with something you built. Your dog gets easy access, you get fewer 2 a.m. thuds—everyone wins.
As an Amazon Associate, I earn from qualifying purchases.