https://www.amazon.com/dp/B086W9V9HC?tag=cozydogspaces-20This post contains affiliate links. As an Amazon Associate, I earn from qualifying purchases, at no extra cost to you.
Snow piles up, wind bites, and your dog still wants a throne outside. You can make that happen without turning the yard into an igloo build site. Let’s design a cold-weather dog house that shrugs off sleet and keeps your sidekick snug. Short version: think insulation first, drafts second, and safe heat last.
Start With the Right Shell: Materials and Shape
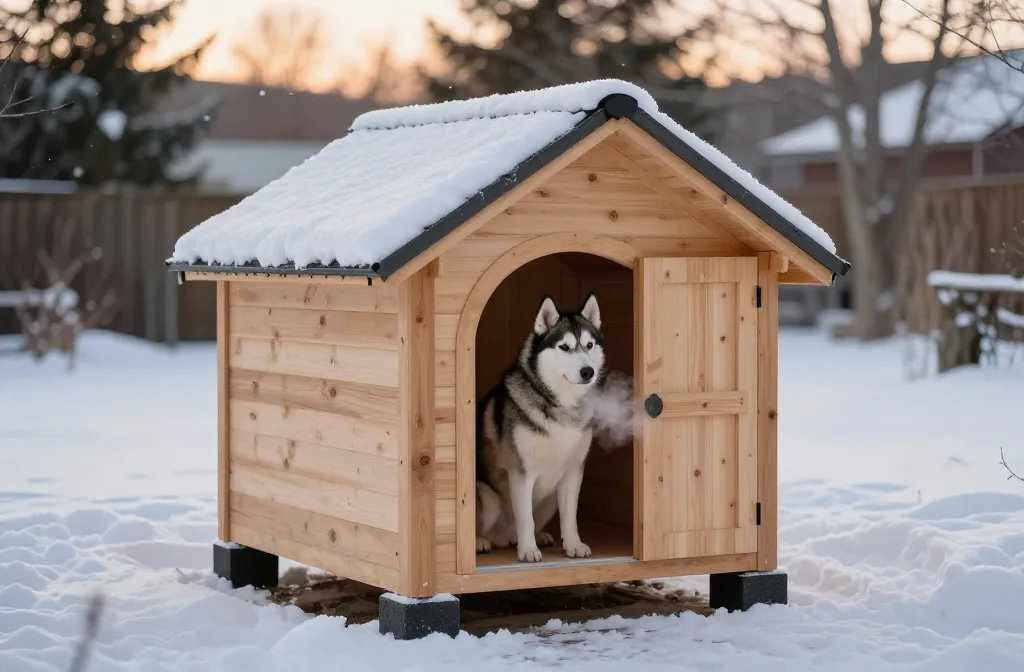
A winter-ready house starts with solid walls and smart geometry. Choose rot-resistant materials like exterior-grade plywood, cedar, or composite panels. A sloped or gabled roof sheds snow fast, and a raised floor stops ground chill.
- How to do it: Use 1/2–3/4 inch exterior plywood for walls. Seal seams with exterior caulk. Add 2×2 framing inside so you can nest insulation tight.
- Entry size tip: Make the door just big enough for your dog to duck in. Smaller opening = less heat loss.
- Roof choice: Opt for a hinged roof panel for easy cleaning and inspection.
Best for: Medium to large breeds and windy yards where rigid walls matter most. IMO, I’d pick cedar if you want low maintenance and fewer warping headaches.
Elevate It: The Frost-Blocking Base
Cold creeps up from the soil. Lift the house at least 2–4 inches using composite decking blocks, bricks, or pressure-treated runners. Add a moisture barrier under the floor panel.
- How to do it: Lay landscape fabric, then pavers. Place 2×4 pressure-treated skids on top and screw the floor to the skids. Slip a sheet of rigid foam under the floor if the frame allows.
Best for: Damp yards and snow-prone regions. Worth it if your ground holds ice for weeks.
Insulate Like You Mean It
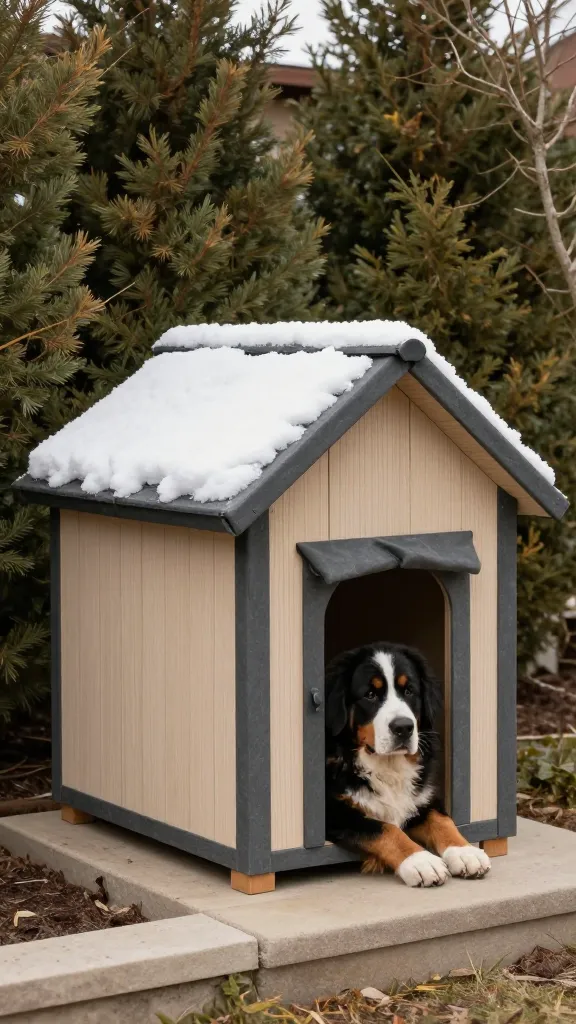
Insulation traps body heat and makes every other upgrade more effective. Focus on walls, roof, and floor. Use rigid foam board (polyiso or XPS), and cover it so no dog teeth can reach it.
- How to do it: Cut 1–2 inch foam panels to fit snug between studs. Tape seams with foil tape. Cover interior with a chew-resistant liner like thin plywood or FRP (fiberglass-reinforced panels).
- R-value sanity check: Aim for R-6 to R-10 in walls and R-10+ in the roof if space allows.
- Draft-proofing: Weatherstrip the roof lid and door edges with exterior foam tape. Caulk every interior corner.
Best for: Short-coated breeds, seniors, and pups under 20 pounds who lose heat fast. I’d skip batting insulation; it’s messy and risky if chewed.
Vapor Control Without Condensation Drama
You need a little airflow so condensation doesn’t freeze inside. Add two tiny vents high on opposite walls.
- How to do it: Drill 1–2 inch circular vents near the roofline. Cover with exterior vent caps or hardware cloth. Keep them above sleeping height to avoid drafts across your dog’s body.
Best for: Humid climates and houses that sit in sun-snow cycles. Worth it if you’ve ever seen frost on interior panels.
Design a Tight Entry: Doors That Block Wind
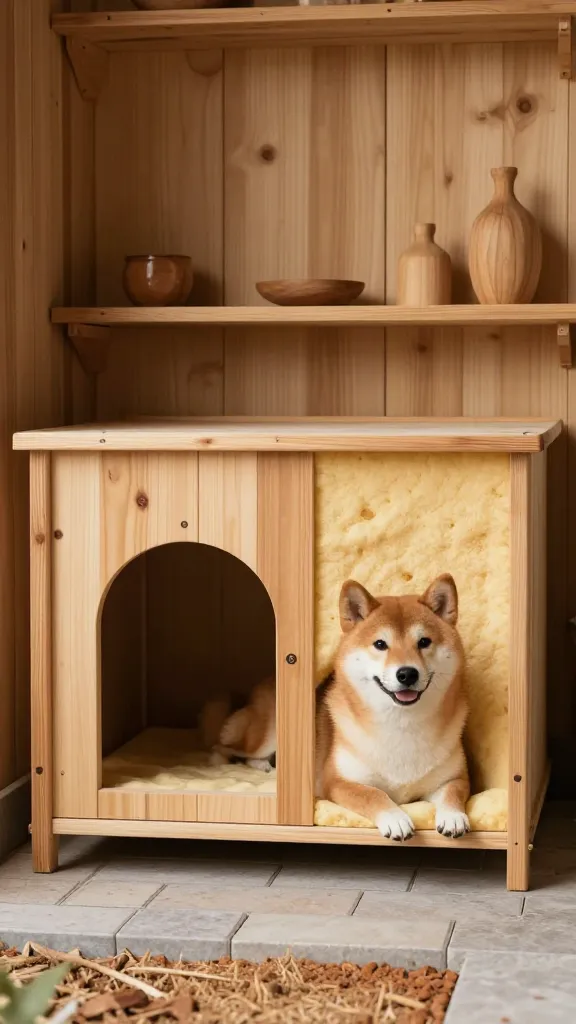
The biggest heat leak is the doorway. A two-part approach works great: a vestibule and a flap.
- Vestibule: Build a short interior baffle wall or L-shaped entry so wind can’t shoot straight in.
- Flap: Use a double-layer, clear vinyl flap with weighted bottom. Hang it with a removable strip so you can clean or replace easily.
- Threshold: Add a 1–2 inch lip at the bottom of the doorway to keep snow and rain out.
Best for: Open yards and spots that face winter gusts. IMO, I’d pick a double flap for arctic-level wind.
Chew-Safe and Claw-Safe Finishes
- Interior liner: Smooth plywood or FRP so claws don’t catch. Avoid exposed foam.
- Edges: Cap door edges with aluminum U-channel to prevent gnawing.
Best for: Young dogs and enthusiastic chewers.
Choose Warm, Washable Bedding (No Loose Stuffing)
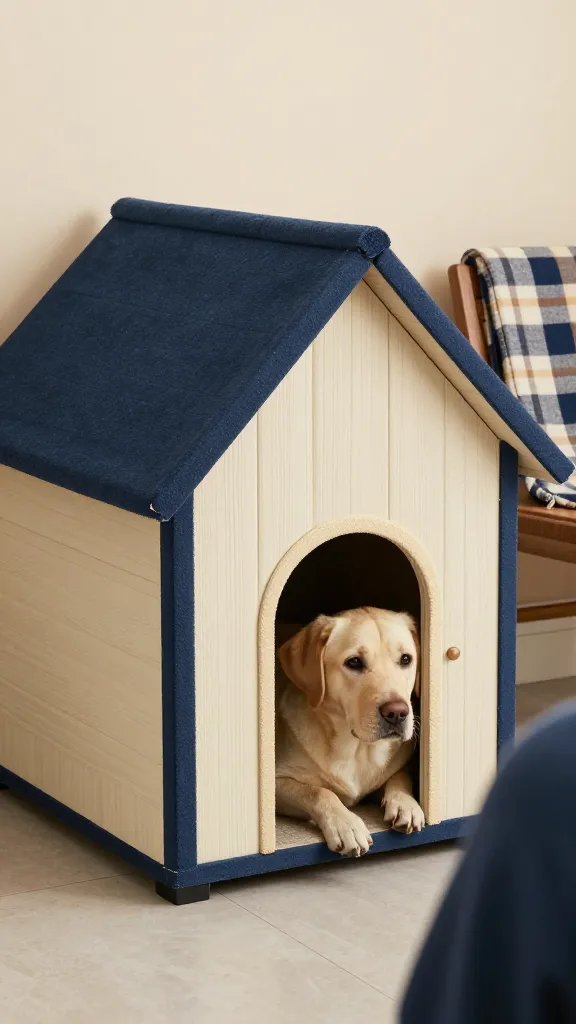
Bedding should insulate from below and dry fast. Think layers you can swap rather than one thick cushion.
- Base layer: Closed-cell foam pad or an elevated cot that fits the footprint. A cot stops moisture wicking up from the floor.
- Top layer: Fleece or wool blend blanket inside a washable cover. Avoid loose fiberfill that invites chewing.
- Insulated mats: Look for reflective mats that bounce heat back to your dog’s body.
Best for: Dogs that track in slush and need quick-dry fabrics. I’d skip straw unless you can replace it weekly—mildew city, FYI.
Size the Interior Right
A smaller interior warms up faster. Your dog should stand up, turn around, and lie flat, but no ballroom space.
- How to do it: Measure nose-to-rump and floor-to-shoulder. Add 4–6 inches in each dimension—no more.
Best for: Lean breeds that chill quickly.
Safe Heat Options (If You Really Need Them)
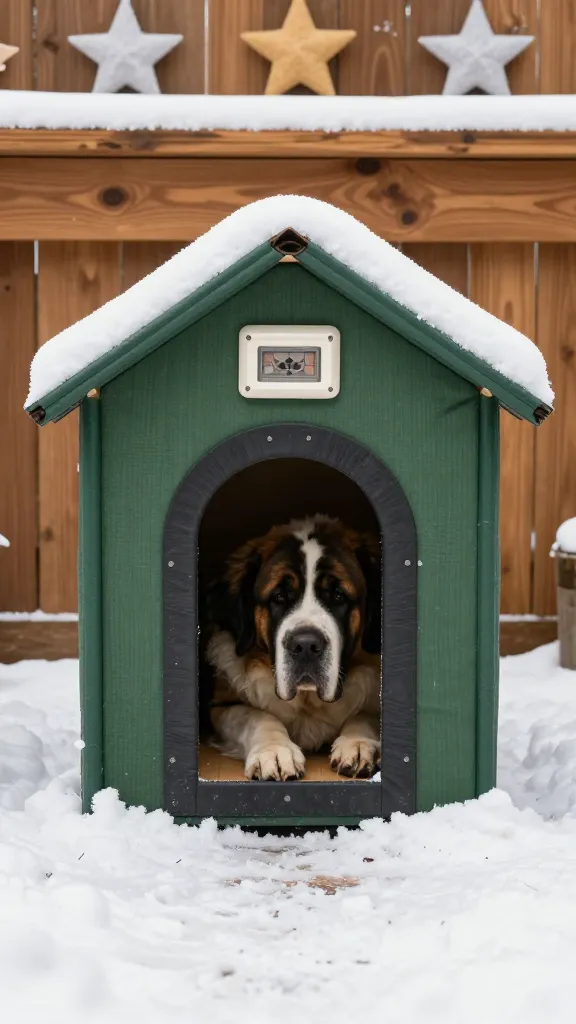
Body heat plus insulation usually does the job. If temps drop below your dog’s comfort zone, add heat carefully.
- Heated pad: Use a chew-resistant, outdoor-rated pad with a steel-coated cord and internal thermostat. Route the cord through a grommeted hole and protective conduit.
- Radiant panel: Low-watt ceiling-mounted radiant panels can warm the space without open coils. Keep all wiring outside wall cavities the dog can access.
- Thermostat: Add an inline thermostat with a probe inside the house so temps stay stable.
Safety: Never use space heaters or open heating elements. Inspect cords weekly. If your dog chews, skip powered heat entirely and upgrade insulation instead.
Best for: Arctic snaps and senior dogs with arthritis. Worth it if your nights dip well below freezing for weeks.
Zero-Electric Alternatives
- Thermal mass floor: Slide a sealed water container under the insulated floor to buffer nighttime swings.
- Reflective canopy: Add a windbreak fence panel around the house to cut wind chill by 5–10 degrees.
Best for: Off-grid setups and chewers.
Weatherproof the Exterior Like a Pro
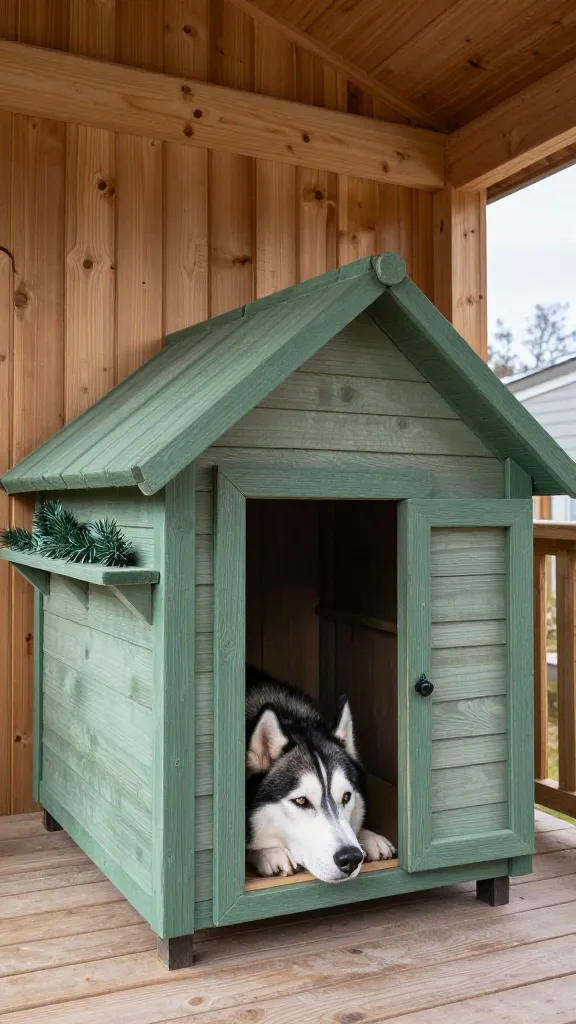
You built a warm box—protect it from the elements so it lasts. Keep water out and snow off.
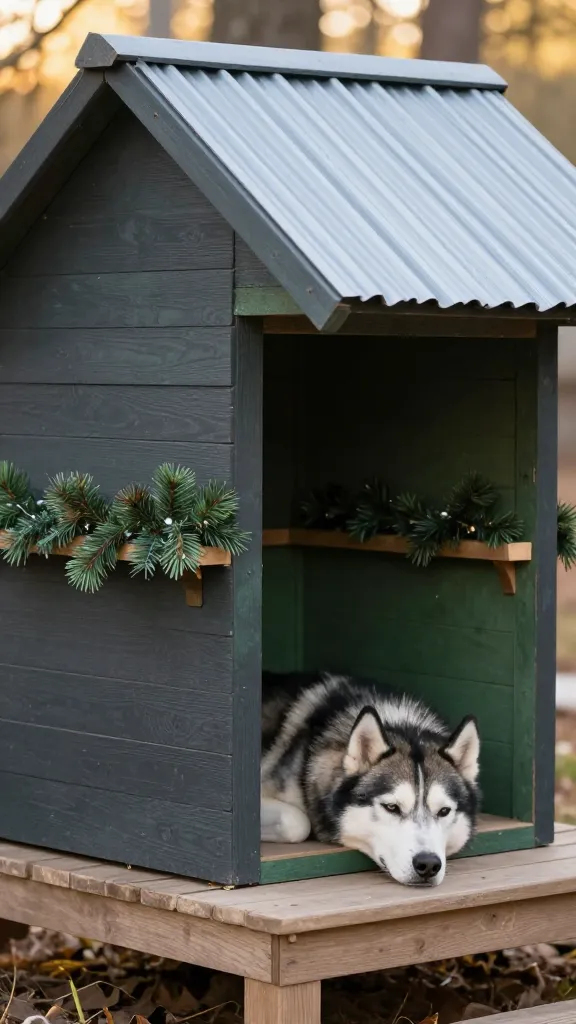
- Roofing: Asphalt shingles or corrugated metal with drip edge. Extend eaves 2–3 inches to move meltwater away.
- Sealants: Use exterior paint or penetrating wood sealer safe for pets once cured. Recoat yearly.
- Snow shedding: Add a 30–45 degree roof pitch. Install a snow diverter if the house sits under a shed roof that dumps avalanches.
Best for: Yards with heavy precipitation and freeze-thaw cycles. IMO, I’d pick shingles for quieter rain noise.
Site It Smart
- Placement: Face the door away from prevailing winds and under an overhang if possible.
- Runoff control: Add gravel around the base so meltwater doesn’t pool.
- Visibility: Keep the house within sight of your door so you can check it fast during storms.
Best for: Small yards where microclimate tweaks matter.
Common Mistake to Avoid
Don’t oversize the house. Big volume equals cold air. People love giving dogs “extra room,” but that just creates a chilly cave. Keep it compact, seal every seam, and focus on a snug bed platform rather than endless floor space.
Mini Layouts That Work
- The Compact Cabin: 2×3 feet for small breeds, 1.5 inch foam walls, single flap, cot + fleece. Best for mild-to-moderate winters.
- The Arctic Bunker: 3×4 feet for large dogs, double-wall with 2 inch foam, L-shaped entry with dual flaps, radiant ceiling panel on thermostat. Best for sub-zero weeks.
- The Off-Grid Shed: 2.5×3.5 feet, heavy insulation, no power, reflective mat, windbreak fence panel. Best for remote cabins and chewers.
Best for: Owners who want clear blueprints to copy. I’d pick the Compact Cabin for most suburban backyards.
FAQ
How warm should a winter dog house be?
Comfort varies by breed, but aim to keep the interior above freezing and ideally between 40–60°F. Insulation plus a tight door often hits that range without power. If your dog shivers, add layers to the bed or consider a safe heated pad.
Is straw or hay good bedding?
Straw insulates at first but compresses fast and traps moisture. It can mold and trigger skin issues. Washable fleece over a closed-cell foam base works better for hygiene and steady warmth.
Can I use a heat lamp?
I’d skip it. Heat lamps pose burn and fire risks, and most aren’t rated for enclosed spaces with pets. If you need heat, choose a low-watt, pet-safe heated mat or a ceiling-mounted radiant panel with guarded wiring.
What’s the safest insulation if my dog chews?
Rigid foam, mineral wool, or polyiso work if you fully encapsulate them with plywood or FRP. Never leave insulation exposed. If your dog is a serious chewer, focus on thicker wall panels and a draft-free door instead of more R-value.
How do I keep the door flap from freezing?
Choose double-layer vinyl with a weighted hem. Install a small overhang to block sleet and keep ice off the flap. If ice forms, warm water and a towel loosen it without damaging the material.
Do I need ventilation in winter?
Yes—just a little. Two small high vents prevent condensation and keep air fresh without creating a chill at bed height. Pair vents with tight seams and a proper door to maintain warmth.
Conclusion
Build the shell stout, line it with insulation, and seal drafts like a hawk. Add a smart flap, a raised bed, and only safe heat if the forecast demands it. Do that, and your dog’s winter hangout becomes a warm retreat instead of a snow cave. Your future self will thank you during the first blizzard.
As an Amazon Associate, I earn from qualifying purchases.