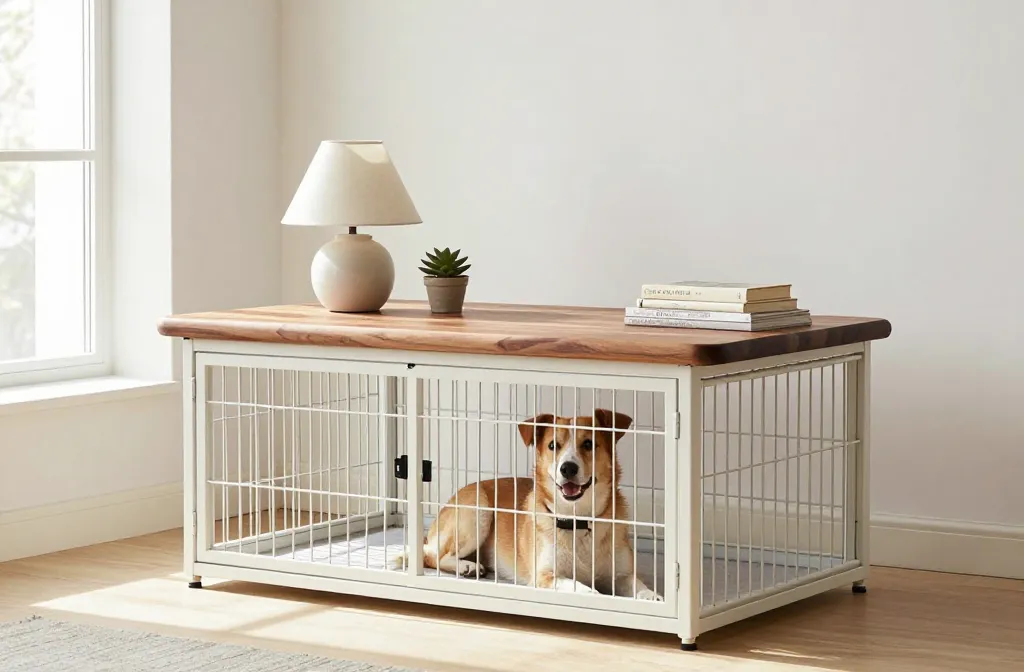
Your dog’s crate can do more than hog floor space and collect tumbleweeds of fur. Add a topper, and boom—you’ve got a side table, console, or even a mini bar (for you, not the dog). It’s easy, budget-friendly, and way better than staring at a wire box. Let’s turn that crate into furniture you actually like looking at.
Why Add a Crate Topper?
You reclaim surface area while giving your pup a den that blends with your style. A topper stabilizes the crate so you can set a lamp, plants, or your coffee without that annoying rattle. Plus, you can match it to your decor with wood, paint, or stain. Function + form = win.
Also, a topper helps visually “finish” the crate so it stops screaming, “temporary storage solution.” It becomes part of the room instead of the obstacle course between you and the couch.
Safety First: What You Need to Know Before You Build
Before you grab a saw and your “DIY hero” cape, plan around your dog’s needs. You want a topper that looks great and keeps your dog comfortable and safe. No weird vibrations, no sharp edges, no wobbly nonsense.
Measure Twice, Cut Once (And Then Measure Again)
- Crate size: Measure length and width of the crate’s top. Add 0.5–1 inch overhang on each side for a finished look.
- Door clearance: Make sure the topper doesn’t block any doors or latches. Front and side doors should open freely.
- Height matters: If you plan to use it as a side table, choose a finished height that matches nearby surfaces.
Ventilation and Noise
- Ventilation: Don’t cover large portions of the sides with curtains or panels that trap heat.
- Rattle control: Add felt pads or rubber bumpers under the topper to reduce noise when your dog moves.
Weight Limits
- No anvils on top: Keep decor light—plants, books, small lamps. Avoid heavy aquariums or large appliances.
- Support rails help: If you want more stability, add cleats or a frame under the topper that hugs the crate.
Materials That Work (And What to Skip)
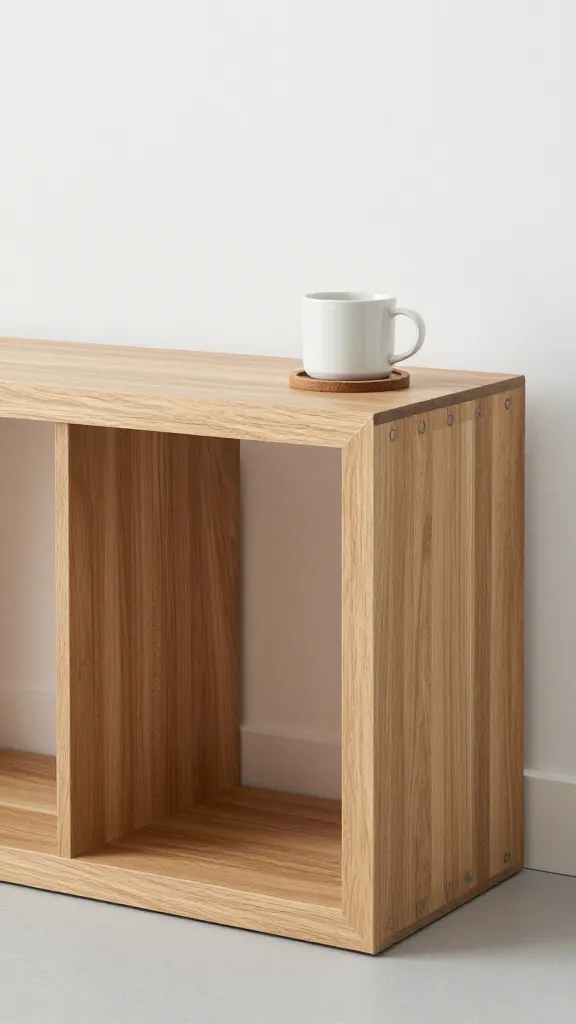
You’ve got options. Pick based on your budget, style, and whether you enjoy sanding as a “fun weekend.” IMO, keep it simple and sturdy.
- Solid wood boards: Great for a rustic or modern look; takes stain beautifully. Use pine, poplar, or oak if you want extra durability.
- Plywood with edge banding: Smooth, stable, and budget-friendly. Finish edges with banding for a polished look.
- Butcher block: Heavy but gorgeous. Best for large breeds and stable setups. Seal it well.
- MDF: Paints well but hates moisture. Seal thoroughly and use indoors only.
- Acrylic or tempered glass: Chic and easy to clean, but needs a frame or bumpers to stay put. Also: fingerprints.
Skip flimsy particleboard that bows under weight, and avoid untreated softwoods that dent if you look at them wrong.
DIY Styles You’ll Actually Want in Your Living Room
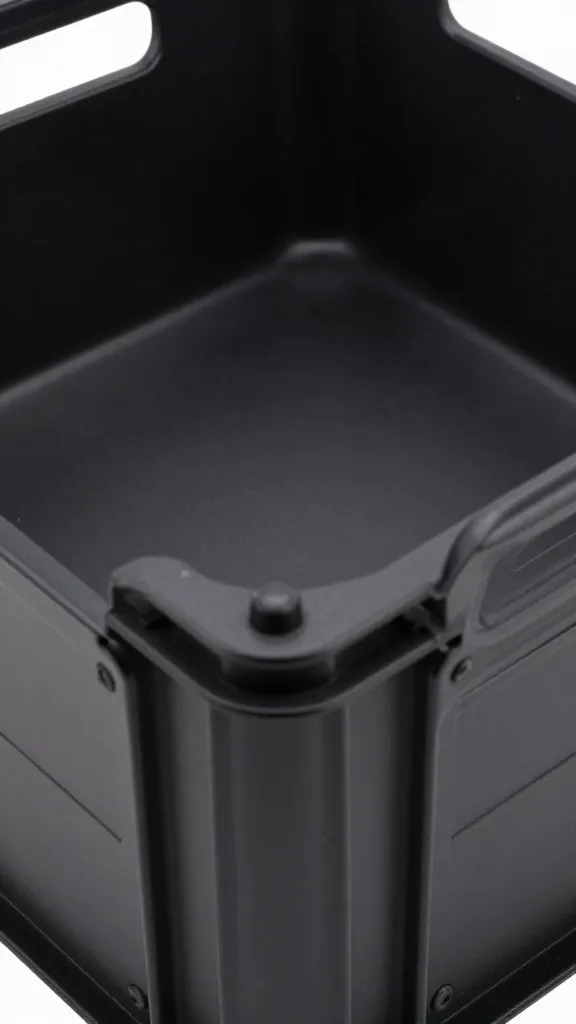
The Simple Slab Topper
Fast, clean, and perfect for beginners. Cut a single board or plywood panel to size, sand the edges, and finish with paint or stain.
- Pro tip: Add non-slip pads underneath so the top doesn’t skate across the crate.
- Edge upgrade: Route a slight round-over or add metal corner brackets for an industrial vibe.
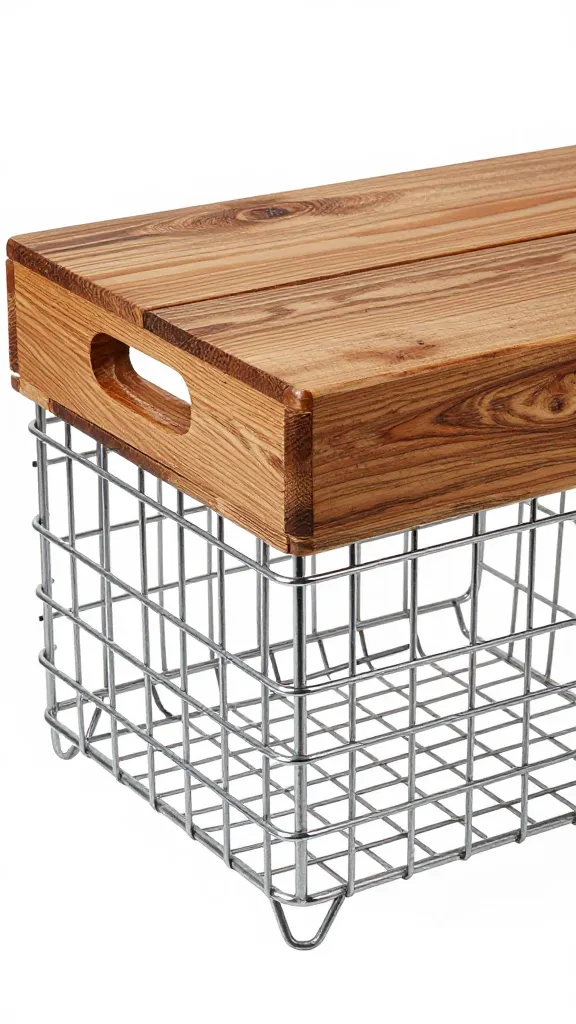
Farmhouse Plank Topper
Want that cozy, cabin-core look? Use 1x boards side-by-side, then join them with pocket holes or battens underneath.
- Finish: Stain, then seal with a matte poly. Distress lightly if you’re into the “my furniture has a backstory” aesthetic.
- Stability: Attach two cross cleats underneath that hug the crate’s wire top so it won’t slide.
Mid-Century Frame with Inset Panel
Build a thin rectangular frame from 1x2s and drop in a plywood or cane panel. Slim, stylish, and deceptively simple.
- Hardware: Use pocket holes for the frame and glue for the panel.
- Feet: Add short tapered legs to the corners of the frame to turn the crate into a legit side table (just ensure legs don’t transmit weight to the crate roof—use a wraparound frame that carries the load to the floor).
Removable Tray Topper
Make a serving-tray-style top with 1.5–2 inch sides. It looks intentional and keeps items from sliding off during zoomies.
- Lining: Add a cork or rubber mat inside to reduce noise and protect finishes.
- Handles: Cut handholds in the sides or add low-profile pulls.
Two-Crate Console
Have two crates side by side? Bridge them with one long top for a hallway console or media unit.
- Span: Add a center support or wall cleat so the top doesn’t sag between crates.
- Cable-savvy: Drill a grommet hole for lamp or charger cords. Clean and practical, FYI.
Finishes That Survive Real Life
Dogs drool. Drinks spill. Choose a finish you can wipe without crying.
- Polyurethane (water-based): Low odor and quick dry. Great for clear coats over stain.
- Hardwax oil: Natural look, easy spot repairs, decent water resistance.
- Paint + topcoat: Satin or semi-gloss holds up best. Use primer first for adhesion.
- Edge armor: Seal edges extra well—they take the most abuse.
Assembly Basics: Your 1-2-3 Plan
Tools You Might Need
- Measuring tape, square, pencil
- Jigsaw or circular saw (or get your boards cut at the store—zero shame)
- Sander and 120/180/220 grit paper
- Drill/driver and pocket hole jig (optional but handy)
- Clamps, wood glue, felt pads or rubber bumpers
Build Steps (Simple Topper)
- Measure crate top and plan a slight overhang (0.5–1 inch).
- Cut your board or panel to size. Dry fit and test door clearance.
- Sand edges smooth. Round corners slightly so no one’s shins suffer.
- Finish with stain or paint. Seal completely, especially edges.
- Add felt pads or a cleat frame underneath to prevent slipping.
- Style the surface with lightweight decor. Done.
Smart Add-Ons You’ll Love
- Magnetic stops: Tiny magnets or clips under the topper can “grab” the wire crate so it stays centered but still lifts off easily.
- Hidden storage: Create a lift-up panel section to stash poop bags, leashes, or treats. Yes, the good ones.
- Cable management: Add a grommet and a stick-on cord raceway under the top for clean charging setups.
- Lighting: A small rechargeable lamp or LED puck adds cozy vibes without cords.
Common Mistakes (And How to Dodge Them)
- Overloading the top: If you need to put heavy stuff on it, build a frame with legs that carry weight to the floor, not the crate.
- Blocking doors: Test every door before finalizing. Open, close, latch—no interference allowed.
- Skipping the seal coat: Unsealed wood stains and swells. Two to three coats = fewer regrets.
- Ignoring wobble: Add pads, cleats, or braces until the topper feels solid. No jenga vibes.
FAQ
Can I permanently attach the topper to the crate?
You can, but I don’t recommend it. A removable top lets you clean, rearrange, or replace the crate without a full disassembly. If you want security, use small brackets or magnetic clips that release quickly.
What if my dog chews everything?
Choose chew-resistant materials and finishes—hardwoods and hardwax oil hold up better than soft pine and thick paint edges. Keep edges rounded and monitor. If chewing persists, redirect with enrichment toys and consider covering exposed edges with metal corner guards.
Is it safe to put a lamp or plant on top?
Yes, as long as you stabilize the topper and keep items lightweight. Use felt or rubber pads under the base to prevent sliding, and avoid water-heavy planters. A spill-proof tray under plants helps big time, FYI.
How do I clean and maintain the topper?
Wipe spills immediately and clean with a damp cloth and mild soap. Refresh the topcoat once a year or after heavy wear. For oiled finishes, apply a maintenance coat when the surface looks dry or dull.
Will a topper make the crate hotter inside?
It can, slightly. Keep the sides open for airflow, and don’t drape heavy fabrics. If your dog runs warm, use a cooling mat inside the crate and skip heat-trapping decor on top.
Can I use the same topper for a plastic crate?
Yes, but plastic crates flex more. Keep the topper light and add a snug frame or cleats to spread weight evenly. Don’t overload the surface, and test for wobble before putting decor on it.
Conclusion
A DIY dog crate topper turns a clunky eyesore into a useful, good-looking piece of furniture. Pick a style you love, seal it like you mean it, and keep it removable for easy cleaning. Your dog gets a cozy den, and you get a side table that finally earns its footprint—IMO, that’s a serious upgrade.
Ready to upgrade your space? Check out our top picks below — hand-picked options that blend seamlessly into any home while keeping your pup cozy and secure.
As an Amazon Associate, I earn from qualifying purchases.